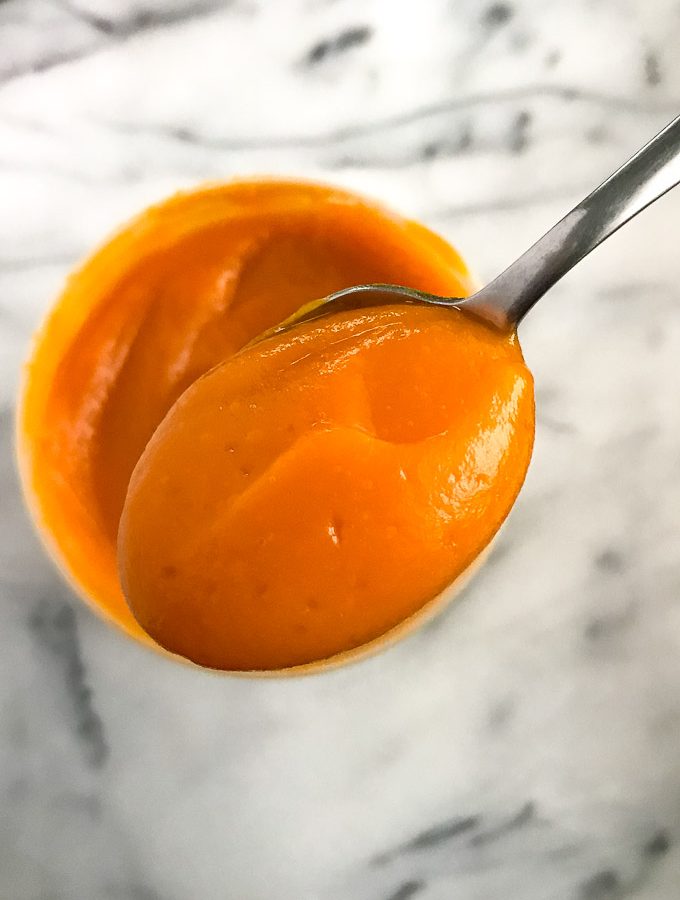
How To Make Sous Vide Smoked Pumpkin Puree with fresh pumpkin to add maximum flavour to sweet and savoury dishes.

Today's Sous Vide Smoked Pumpkin Puree is an easy, fun way to add another layer of flavour to your pumpkin-based sweet and savoury dishes.
Do you make your own pumpkin puree?
I don't remember ever seeing canned pumpkin in our home growing up, only the fresh stuff. Home-grown with the most brilliant orange flesh, we enjoyed them in a number of ways; my favourite being my grandmother's pumpkin pancakes/fritters.
She still makes them to this day and they are as fabulous to my adult palate, as they were to my younger taste buds.
 Can The Colour
I am not here to knock store-bought, canned pumpkin puree - I've used my fair share in a pinch. It pales a little in the taste and texture departments in comparison to homemade, IMHO. However, it typically imparts a more vibrant orange, when baked into desserts.
I shared the 'recipe' for sous vide pumpkin puree back in this post for Sous Vide Chai Pumpkin Creme Brulee. It works well in a number of other pumpkin-based recipes. This time around, I thought I'd smoke the pumpkin for more flavour depth and interest.

Sous Vide Smoked Pumpkin Puree
Two Christmases ago, I was gifted The Smoking Gun. I immediately made it my life's mission to smoke ALL THE THINGS, from desserts to popcorn to cocktails. It's a great way to infuse flavour with a touch of the outdoors.
I've tried smoking the pumpkin before I cook it, but my preference has been to infuse with smoke, while it is still hot out of the sous vide. Unlike raw meat, which seems to do better with pre-cook smoking, the flavour was more pronounced in the pumpkin when smoked post-cook.
The smoker came with two sample wood chips - hickory and applewood - but you can also purchase the full size four-pack, which includes cherrywood and mesquite. With the recent legalization of recreational cannabis, you can get very creative with your smoker. 😉
 Tips for Homemade Pumpkin Puree Success:
I recently ran a poll on my Instagram stories, to which 73% of ya'll who who responded expressed a preference for homemade pumpkin puree!!
For those who have not had great luck with homemade puree, here are some tips that have worked for me:
- Sous vide (or roast the pumpkin) for a consistency that is closer to its canned counterpart. Cooking sous vide also helps retain a lot of the colour, flavour nutrients and structure.
- If not using for soups and the like, drain the liquids that are created in the bag during cooking - again, this helps in achieving a texture that is similar to its canned counterpart. Save the liquid and use it to thin the puree, if it becomes too thick
- If you still find the consistency too runny, drain the cooked pumpkin using cheese cloth and a strainer, or a nut milk bag.
- If smoking the pumpkin, I find the cooked pumpkin better takes on the flavour, but don't be afraid to experiment to find your sweet spot.
- The sous vide pumpkin can be used in a number of ways straight out of the water bath - roasted, mashed, pureed, soup add-in, ice cream etc.
Sous Vide Smoked Pumpkin Puree
Ingredients
Equipment:
- sous vide immersion cooker
- heat-proof bin or tall pot
- vacuum sealer or zip seal bags
- smoking gun or other smoker
For the puree:
- fresh pumpkin I used Guyanese pumpkin
For the smoker (if using):
- smoking chips your preferred flavour
Instructions
Cook the pumpkin:
- Set the sous vide cooker to heat the water bath to 85ºC/185ºF.Wash, peel and cut pumpkin into small cubes. Place in a food-safe vacuum bag and seal. Submerge and cook in heated bath for 50-60 minutes.
- Standard puree:Remove pumpkin from water bath, snip a corner of the bag and drain liquids into a cup. Use a blender, food processor or immersion blender to puree.
- Smoked Version:Remove pumpkin from water bath, snip a corner of the bag and drain liquids into a cup. Add the smoking chips to the smoker and fit the tip of the tube into the snipped corner of the bag. Secure with a bulldog clip and smoke for 1-3 minutes. Seal the bag and allow to infuse, then blend until smooth.
- Save for later version:When ready, remove cooked pumpkin from water bath. Leave the pumpkin in the bag and shock in an ice bath for about 15-20 minutes. Then refrigerate for up to 2 two days, or freeze up to two months.

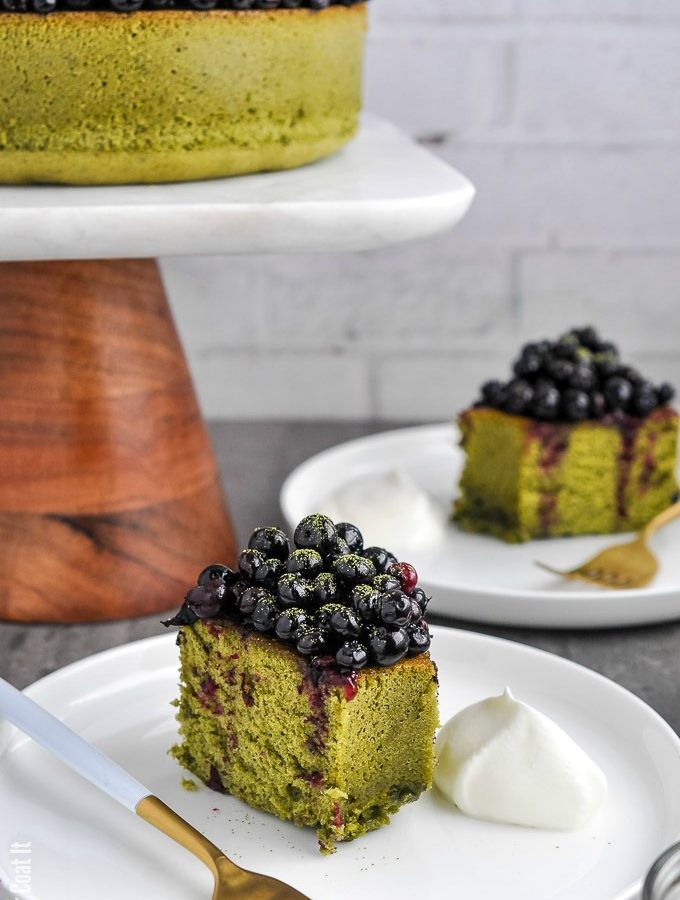
 Nope, no orange here today, folks! Just the striking green and blue of Matcha Sponge Cake with Maple Poached Blueberries. I've got some pumpkin goodies lined up, but not before catching up on some long overdue draft posts.
 I landed on an entremet we created in Chocolate Desserts that I've been planning to recreate for some time. Too busy, or too lazy, to tackle all the components, I settled on just one - a matcha sponge cake. I think you already know about my longstanding love for the
  I am generally not a fan of cooked fruit, but the fresh blueberries just weren't wowing me, aesthetically. So, I poached the berries in a maple syrup mixture via sous vide. We did something similar with a variety of black fruit in a Valrhona workshop I attended a little while back and I quite enjoyed the results.
 Sponge cakes are fairly simple, as far as ingredients and effort go. In place of baking powder, this sponge cake depends on mechanical leavening via whipping the hell out of the eggs. The entrapped air is what causes the batter to expand and rise, creating a tender crumb. So, there is no skipping or skirting the full twenty minutes indicated in the recipe.

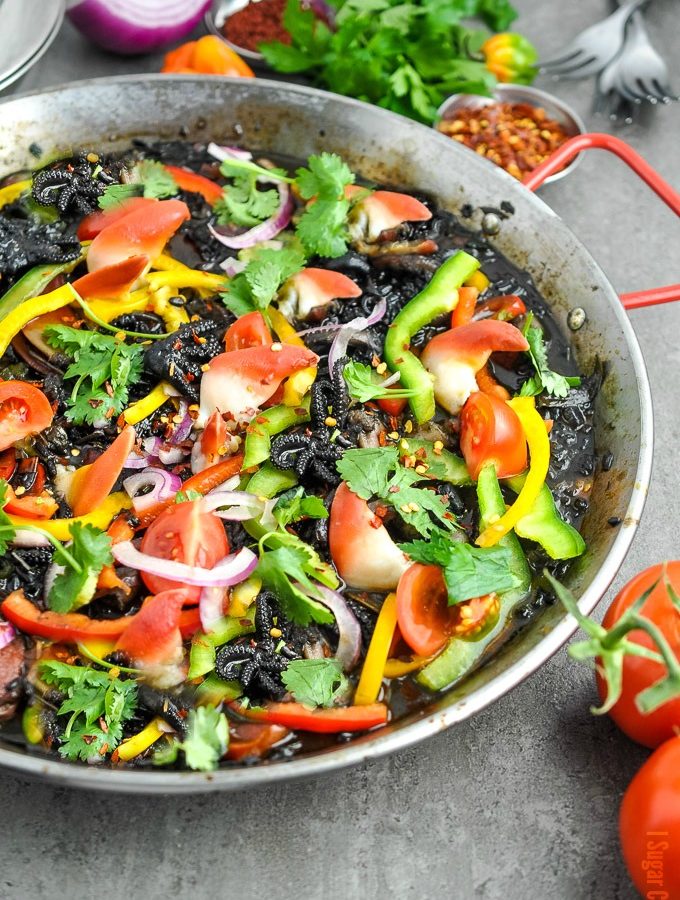
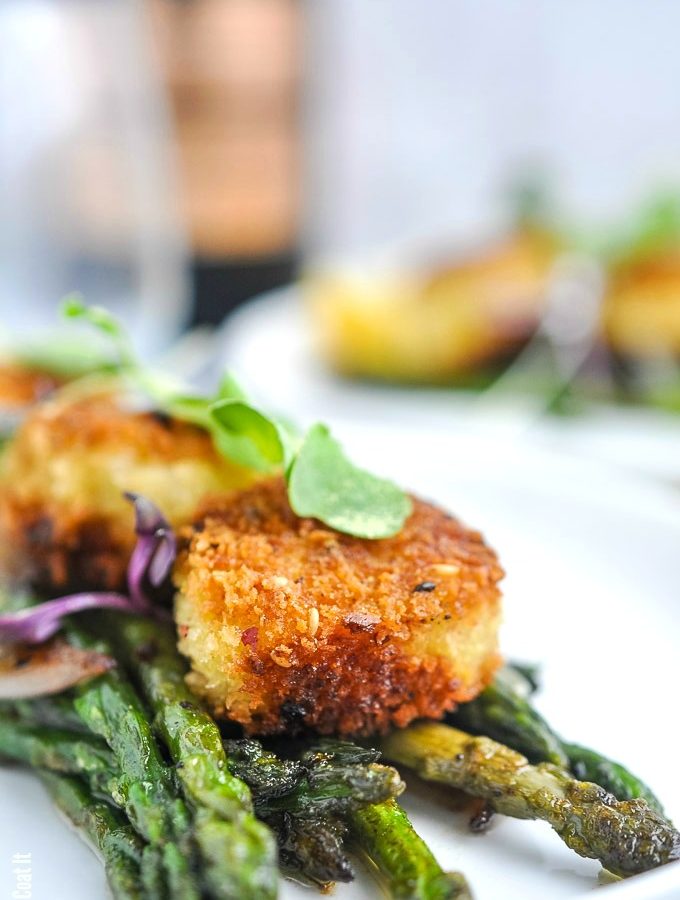
 This post for Seafood Paella Noir with Arctic Surf Clams was created in partnership with Clearwater Seafoods LP.
 If all that does not capture your interest, the vibrant, eye-catching pops of red they add to a dish - from sushi to salads to soups - most certainly will. With a uniquely tender, silky texture and slightly sweet taste, these tongues aren't just about looks, they are versatile, and quick and easy to prepare (about ten minutes, once thawed)!


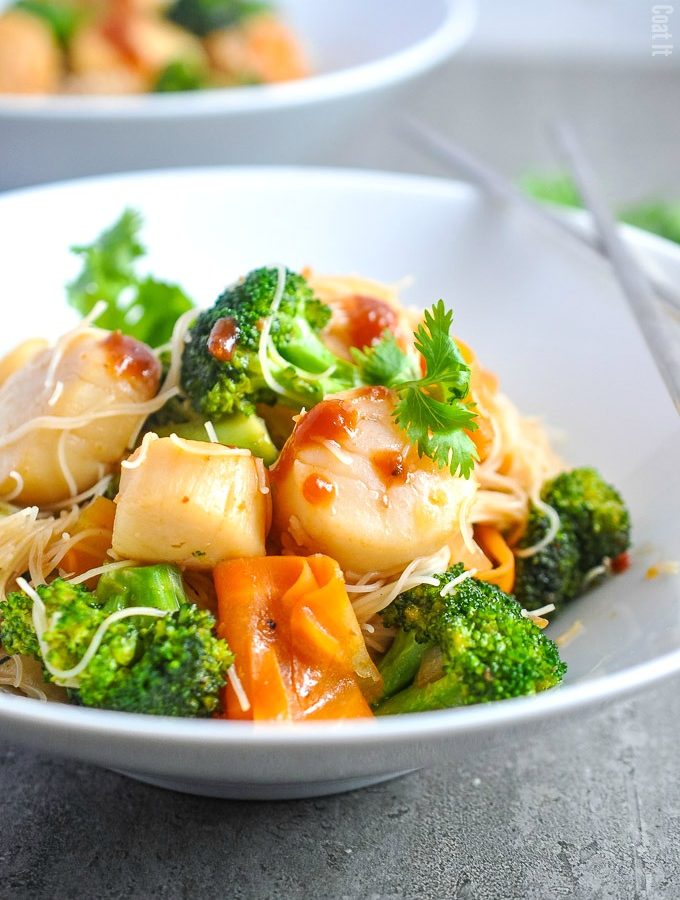
 This post for Mango Chili Sea Scallops Stir Fry was created in partnership with Clearwater Seafoods LP.
 Then there are times when Sunday rolls around and the last thing either of us wants to do is plan ahead. Meals like this Mango Chili Sea Scallops Stir Fry are the perfect answer. It's fairly quick, fuss-free and requires only a quick stop at the market for a couple fresh vegetables. Or perhaps you have some frozen veggies just waiting to be thawed.
 What we love most about this meal is the ability to switch things up to match our ever-changing tastebuds. We like it with seafood, chicken, beef and back when the Dude was a vegetarian,
  The noodles are dry vermicelli rice noodles, cooked by pouring boiling water onto them before dipping in cold water. These are tossed in at the end with the scallops, to prevent over-cooking both. Top with the leftover sauce, fresh cilantro and enjoy!
 Why Sous Vide?
 But Will It Caramelize?
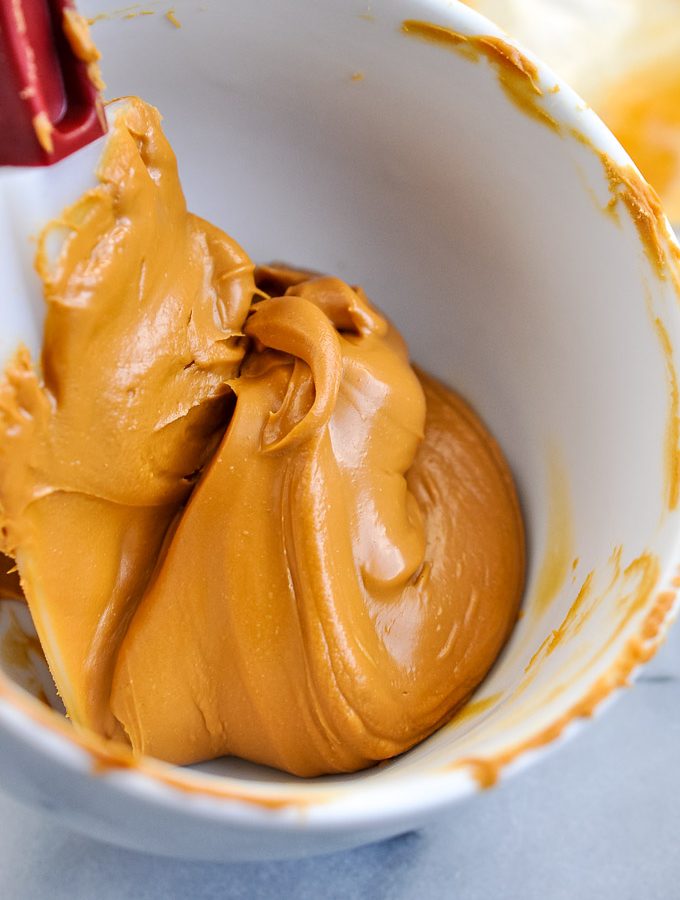
 My first batch, back in January, went into
  Straight out of the bag, it will be thick and appear grainy. Not to worry. A little elbow grease will get it to deep, golden, shiny, viscous deliciousness. From there, you can use it in a number of applications from bars to bonbons to ice creams, cookies and cakes.
 A Few Tips for Best Results:
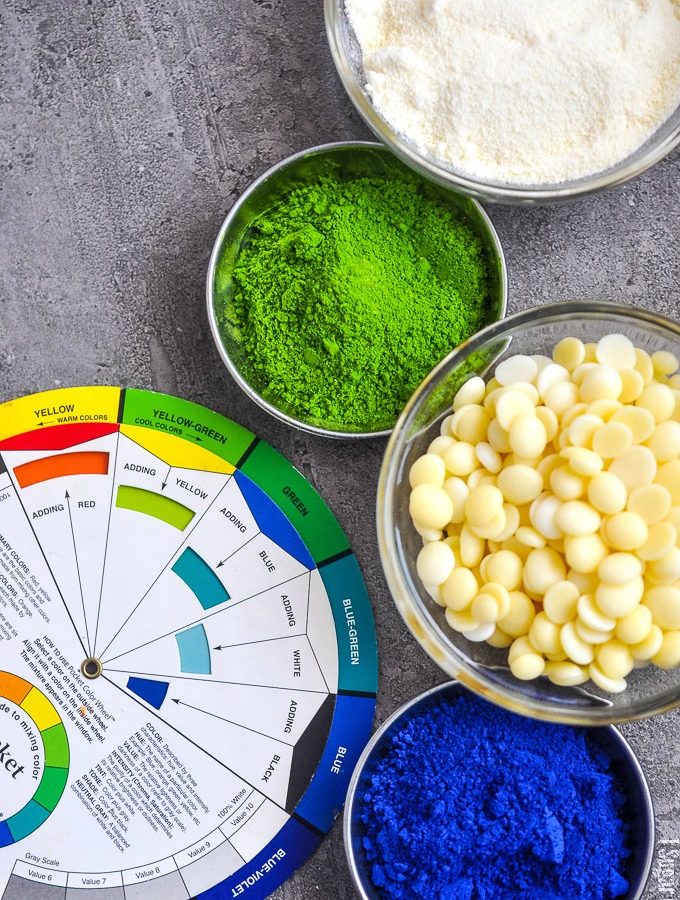

 What You'll Need To Make Coloured Cocoa Butter
 Cocoa Butter: Deodorized or Natural?
 Oil-Based/Fat-Soluble Colourants
 Equipment You'll Need To Make Coloured Cocoa Butter

 This post for Sous Vide Wasabi Crusted Scallops was created in partnership with Clearwater Seafoods LP.
 Get Those *#$* Lobsters on the *#$*Plane!
 Sustainable and Sexy


 Eyes and Bones
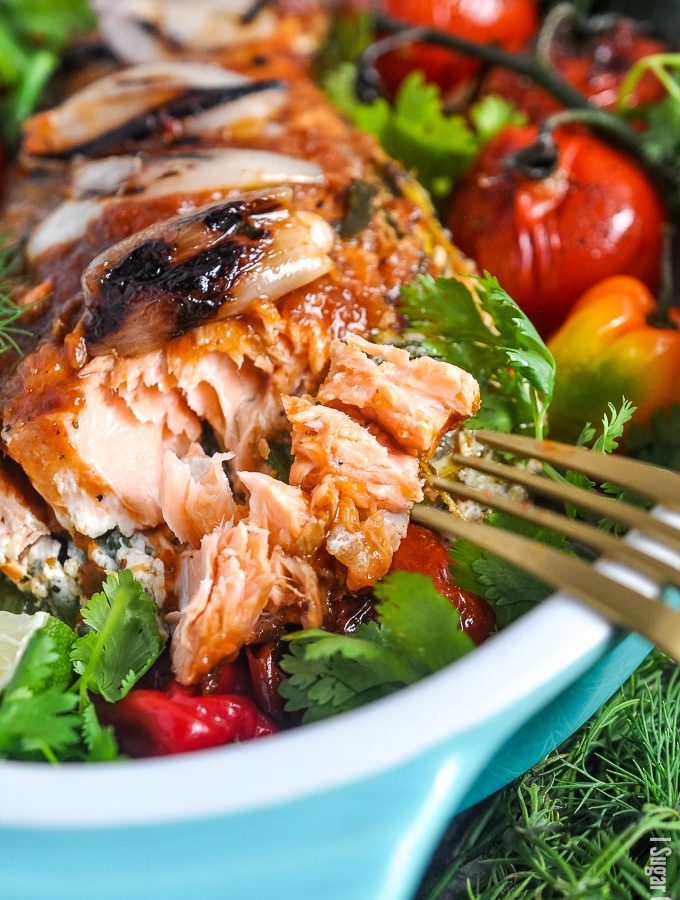
 Maple Gochujang Barbecue Salmon Tail Sous Vide


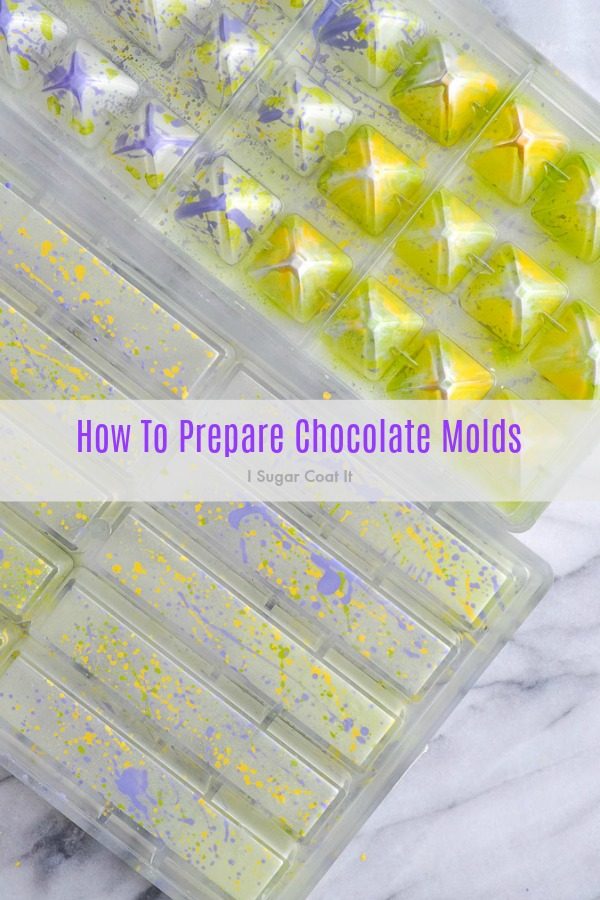
 I am always a little hesitant when it comes to how-to posts. The underlying message is that I am a subject matter expert and I really don't see myself in that way. Instead, a perpetual student...
 The Right Mold
 Silicone Molds and Stencils
 Polycarbonate Molds