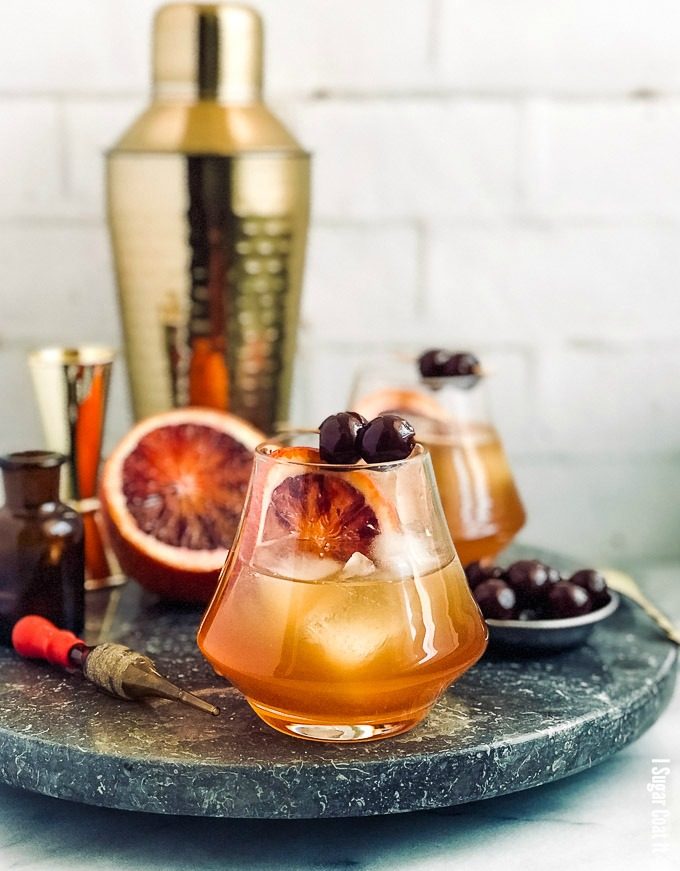
Shake off the last of the winter chills and warm up with a glass, or two, of Sous Vide Blood Orange Bacon Old Fashioned Cocktail.

So we're here! First day of spring and it still feels a lot like winter - nothing this Sous Vide Blood Orange Bacon Old Fashioned Cocktail can't fix. A warming merger of outgoing and incoming seasons with a modern twist.
Sous Vide isn't just for meat and veggies. We love using it for infusions - that includes alcohol, vinegar and oils. I originally shared this drink last March on my Instagram stories, as part of my sous vide behind the scenes series and again recently, in response to a few requests. It has been sitting in my blog drafts for over a year... I seriously need help managing my overwhelming volume of content.
Alright, let's end this pity fest with a tap of our glasses - upward and onward!

How To Make Sous Vide Infusions
As I mentioned earlier, sous vide is a great way to infuse oil, water, alcohol and vinegar with flavour. It's stupid easy! You just need to remember (or cheat sheet) the temperature that is best suited for the type of liquid:
- 65ºC-80ºC for oils for 3-12 hours
- 55ºC-71ºC for alcohol, vinegar for 1-4 hours
Then it's as simple as combining your flavours and liquids in a bottle, jar or bag and cooking per above. A crucial step at the end of the cook is to chill the infusion in an ice bath, this helps to bind the aromas/flavours. Once chilled, strain, refrigerate and use as needed!

How To Use Sous Vide Infusions
Infused alcohol and water can be used to soak cake layers much like you would with a traditional simple syrup, flavour desserts and shake up a few libations, like this Sous Vide Blood Orange Bacon Old Fashioned Cocktail.
You can use an array of herbs, spices, fruits and vegetables to create endless combinations of flavoured vinegars, oils and syrups - also perfect for gifting. I love making citrus and herb infused oil to drizzle over pasta or seafood. Or gourmet infused white vinegars like berries and basil, tarragon or fennel and one of my fave, fig balsamic!

Why Sous Vide?
Infusions can just as easily be made using traditional stove-top method or via cold infusion. What I love about making them sous vide, apart from the flavour it produces in relatively short times, is there is no need to actively monitor.
So, do you infuse at home and what are some of your favourite flavour combos?
Sous Vide Blood Orange Bacon Old Fashioned Cocktail
Ingredients
For the infusion:
- 210 milliliters bourbon or whiskey
- 1 small orange zest only
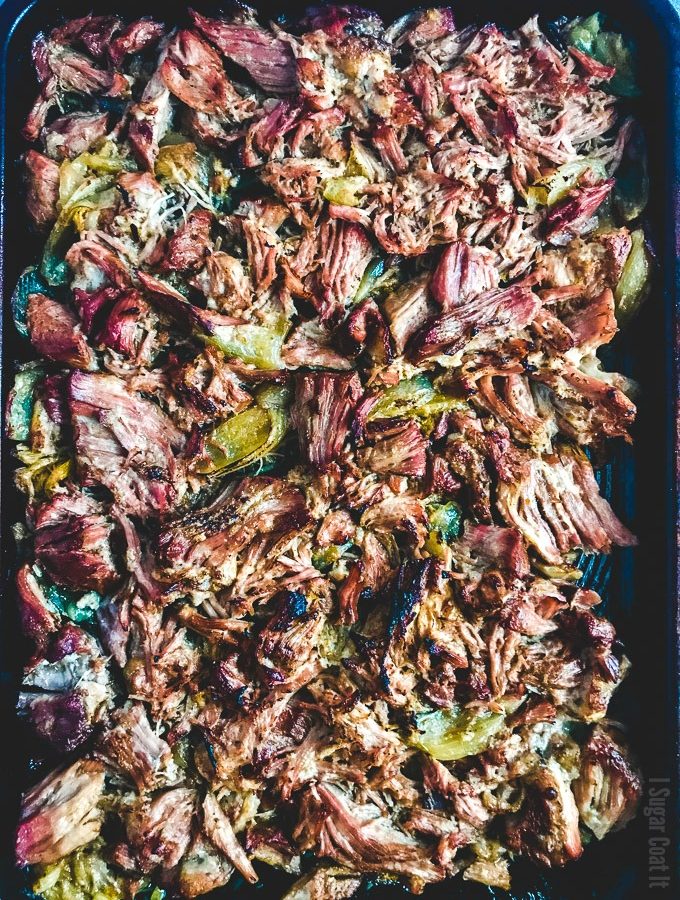
- 1 strip maple smoked bacon cooked and pat dry of excess grease
- 2.25 tablespoons maple syrup or brown sugar
For the cocktail:
- 52 milliliters whiskey/bourbon infusion from above
- 1-2 dashes bitters like Angostura
- 0.5-1 teaspoon granulated sugar
- ice cubes 2-3 per glass
For the garnish:
- orange slices one per glass
- black cherries two per glass
Instructions
Prepare the water bath:
- While the meat is infusing, fill a heavy-duty pot or heat-proof container with warm tap water. Attach the immersion cooker and set the temperature to 55ºC/131ºF and cook for 1-3 hours, depending on how intense you want the flavour.Cover the container with plastic wrap or foil to help speed up the heating and retain the heat and water while cooking.
Make the infusion:
- Prepare the bacon - I like to bake or grill to minimize grease reabsorption. Pat dry of any excess grease with paper towel.
Make the cocktail:
- Add the sugar, bitters and infusion to a cocktail shaker and stir to dissolve the sugar. Add 2-3 ice cubes to 4 whisky glasses and strain in the mixture.
Garnish:
- Slide an orange slice along the inside of each glass and top with two cherries on a toothpick. Enjoy!