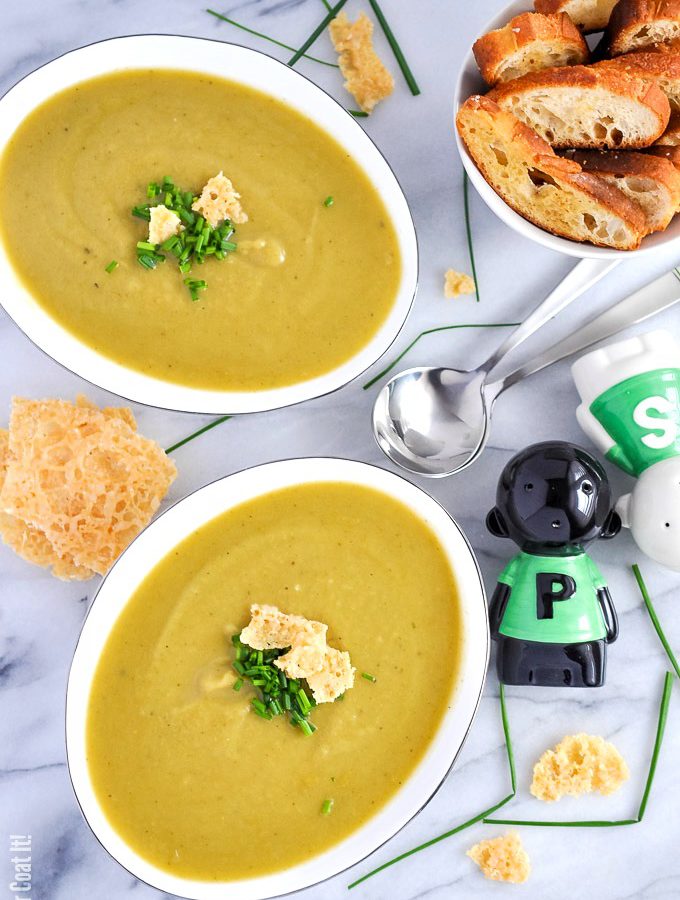
Roasted Leek Lentil Soup. Root vegetables and lentils roasted and pureed for a warm, hearty bowl of comfort.
 Here we are, one week into 2017 and already I have a sickening feeling about it. Literally! Ten days of flu virus hell...while on vacation no doubt. How's that for a crappy start to the new year. The upside, soup. Copious amounts of warm comfort, starting with this Roasted Leek Lentil Soup.
I am a soup all year round kind of girl, but there is something so comforting about a warm, hearty bowl of soup on a cold winter's day. More so when nursing the cold/flu.
 I return to work tomorrow after almost three weeks off and I am sure you all know how that goes. I'll be expecting that tanned, shirtless guy to magically appear with oversized umbrella drinks just before noon, only to find myself standing at the water cooler. Let's hope I don't start disrobing for that mid-afternoon dip in the middle of a meeting. Really... no one needs to see that.
Um, yeahhhh...back to this Roasted Leek Lentil Soup. We made enough to feed a village, so it'll likely be lunch and dinner for the entire week. Plus, you know, a bowl or two for you. Dig in!
This is a free-form recipe (we aren't big on recipes for savoury dishes), so feel free to switch things up to match your taste.

Roasted Leek Lentil Soup
Ingredients
Parmesan chips:
- 2 tablespoons grated parmesan
Soup:
- 4 leeks
- 3 large potatoes peeled and cubed
- 1 whole onion
- 1 small head of garlic we like lots
- olive oil
- 1 cup green lentils cooked
- vegetable stock
- ¼ cup parmesan
- salt and pepper to taste
- fresh chives to garnish
Instructions
Make the Parmesan Chips:
- Preheat oven to 400F and line a small baking pan with a silicone mat.
- Add the cheese to centre of the mat and lightly pat it down. Bake for 2 to 4 minutes or until golden and crisp.
- Remove from oven and allow to cool before breaking into pieces.
- Store any leftover in an airtight container in the refrigerator.
Make the Soup:
- Preheat oven to 400F. Place parchment paper on a sheet baking pan.
- Wash, trim and slice the leeks lengthwise. I used all of the green and white parts (very little waste).
- Lay cut side up on the parchment lined sheet. Add the potatoes, garlic, onion and sprinkle with oil, a little salt and pepper.
- Roast vegetables until tender, about 30-40 minutes. Remove from oven and peel skin off onion and garlic, once slightly cooled.
- Place all the vegetables and lentils in a large pot and cover with broth. Bring to a light simmer, then use an immersion blender to combine until smooth and creamy. (Normally, I would do this part in the Vitamix, but this was a bigger batch than we typically make. If using your blender, you may need to do two batches).
- Stir in freshly grated Parmesan and salt and pepper to taste.
- Serve with Parmesan chips and chives and a side of garlic crostini.


 GUUUYS... only a few more days before 2017!! How do you plan to ring in the new year? If you are free, we could make a bubbly entrance with Molecular Rose Caviar Champagne in each hand! You with me?
 I made this Molecular Rose Caviar Champagne back in the summer when I was experimenting heavily with all things molecular gastronomy. Ok, maybe not all - I've only just scratched the surface, really. 🙂

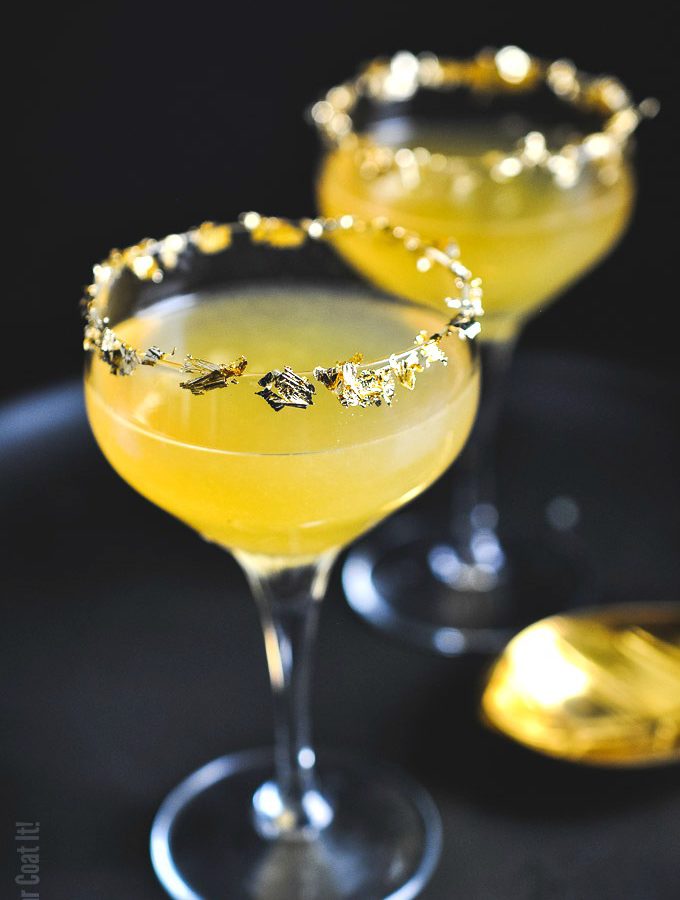
 With the sleep-inducing turkey, stuffing and sides behind us, I propose we ride out the rest of 2016 on a wave of cocktails. Let's kick off our NYE countdown with a trip to France via this Versailles Cocktail.
 A slave to my curiosity, I paid the price and quite enjoyed the drink. How often does one get a cocktail served in a ring of 24-carat gold? That said, I love my money working for me, so a repeat is out of the question - unless the included gold comes with a guaranteed ROI.
 I found two versions of Versailles Cocktail, while researching the drink. The one I am sharing in this post made with just three ingredients that I had on hand. The other is a more

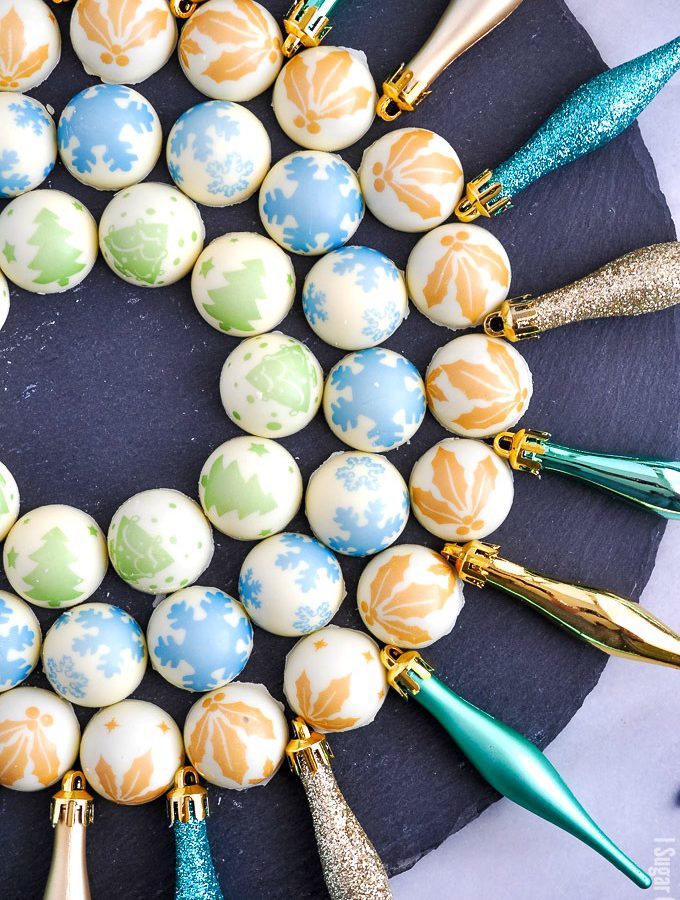
 Merry Merry Christmas you lovely lot!!! You'll likely be busy unwrapping gifts when this post goes live, but these White Chocolate Holiday Truffles (or we can call them bonbons) will be here awaiting your visit when that sweet craving hits.
 Unfortunately, my plans were crushed, literally! How, you ask... by the driver side tire of my car. 🙁 I am still not quite sure how this occurred - I blamed the Dude and he blamed me. Granted it was still dark, we weren't quite fully awake and we had our hands full trying to pack the trunk... but, really!?!
 I call these lazy truffles, because I didn't sit and paint over one hundred cavities with holly, snow flakes and evergreen. Instead, I used what are called blister sheets - disposable molds with the cocoa butter designs already painted on.


 Happy Holidays! Apologies for being missing in action around these parts. Life got hella hectic and well, yada-yada-yada...I'm hoping to make it up to you with these 12 Sweet Treats for Holiday Gifting!


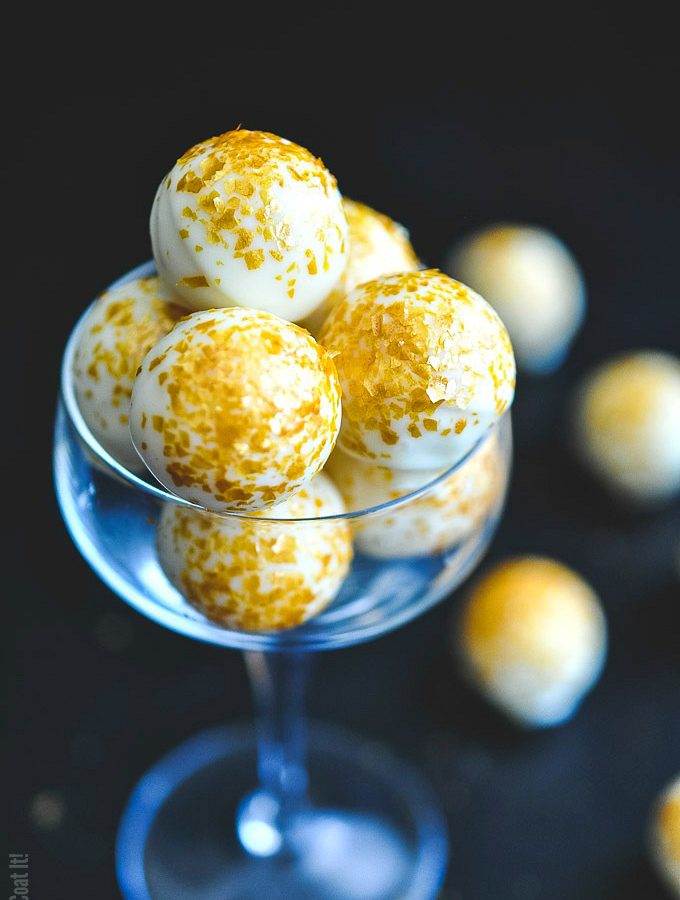
 Be warned...these Happy Hour Eggnog Truffles are one-inch balls of party-time in your mouth! You can thank my heavy-handedness with the bourbon - it's that time of year, after all. 😉
 Enough of my drivel, let's talk truffles! Remember a few posts back, I mentioned I found a few forgotten photos? These Happy Hour Eggnog Truffles were among the bunch! Some might call it procrastination, but I'll go with perfect timing. Yeah, I like that!
 Like I said earlier, these Happy Hour Eggnog Truffles would make perfect gifts and would also work for your NYE celebrations. Here are a few tips and tricks to help you whip up a batch of your best truffles.


 Caramelized White Chocolate Gingerbread Men
 The Give-Away!
 Back to these toasty little Caramelized White Chocolate Gingerbread Men. They are a layer of tempered chocolate molded and stuffed with spicy gingerbread cookie crumble. My paint job is pretty wobbly, but we'll say rustic. 😉
 What I initially set out to do was place a cut out of the cookie in the molded chocolate, a thin layer of some other component and seal it. I could not, however, find a cookie cutter that was smaller than the mold in the exact shape and cutting them by hand was out of the question.


 I am not an overzealous christmas type, but I do get great pleasure from the giving aspect of the holiday. Edible and homemade gifts, to me, are super special, so I am kicking off my edible gift-giving with these Cassis Blackcurrant Chocolate bonbons.
 If you are not familiar with blackcurrants, they are a dark, intense bittersweet, tart berry, native to Europe and Northern Asia. In the U.S., they were once referred to as 'the forbidden fruit' and were banned as they were believed to have spread a fungus that killed pine trees. They are high in vitamin c, antioxidants and a number of other nutrients.
 On the topic of white chocolate, I wasn't always a fan. If you have been around here a while, you know that one of my favourite chocolate brands is Valrhona. I use their Guanaja 70% often and you have heard me sing the praises of their Dulcey 32%. If you are on the fence about white chocolate, I encourage you to try their Opalys 33%. It has a velvety mouthfeel with delicate vanilla notes - the perfect complement to the blackcurrant's tartness.
