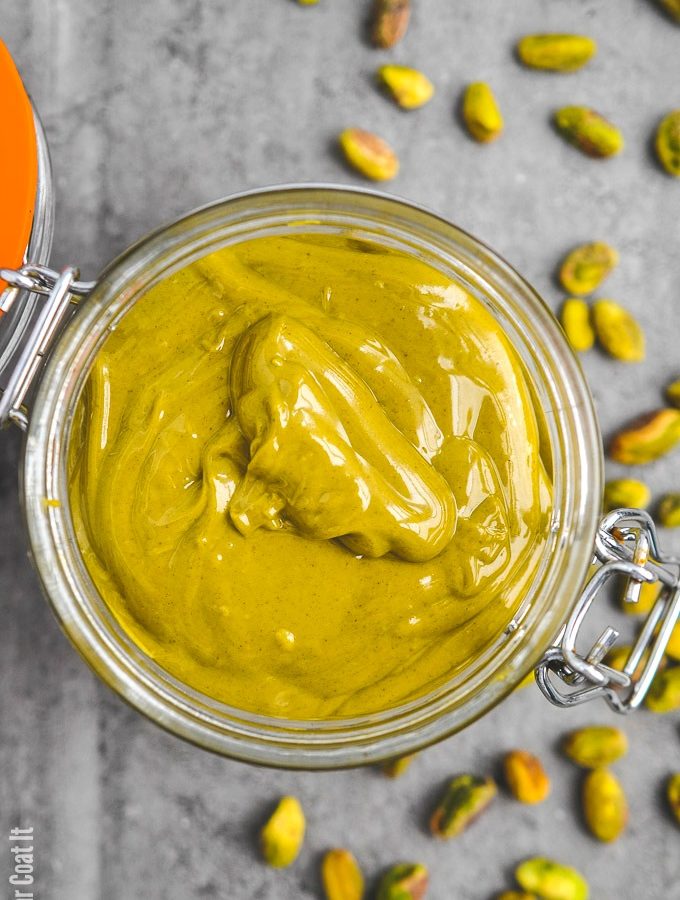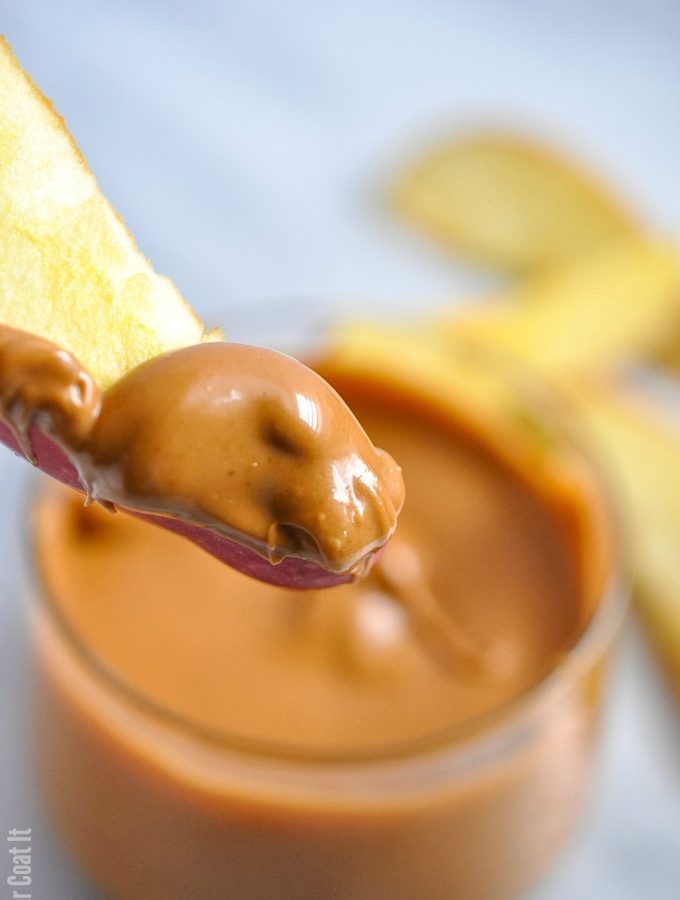
3-Ingredient, rich, creamy, homemade Maple Almond Butter, made silky smooth with a melanger.

Inspiration
I am calling this spread Maple Almond Butter, but it can easily double as a quasi praline paste, thanks to the candied almonds. It all started with some almonds I soaked in pure maple syrup, then baked up for snacking.
The Dude thought they would be great as a spread like we did here, so I made it happen and even gifted a few!

Silky AF Nut Butter
You can make this Maple Almond Butter in a food processor and with the help of the strained maple syrup, as noted in the recipe below, you can achieve a fairly smooth spread. If you have a melanger, you can take smoothness to the next level.
The melanger I own refines particles down to less than 20 microns, resulting in a smoother texture. And it's stupid simple to use - check out my post here, for a few tips!
A number of you have recently messaged me on IG to say you purchased a melanger. I don't gain anything from your purchases from the makers of the melanger, but I probably should look into a commission of some sort...RIGHT! 🙂
However, if you purchase through my shop (this is an affiliate link), you can support the continued sweet pursuits of I Sugar Coat It.

Spread The Love
When I make nut butter, I normally skip candying the almonds and simply bake them with a pinch of salt, before processing in the food processor or melanger. That gives me plain almond butter. Sometimes I add the maple syrup, cinnamon or other flavours during the processing phase.
The latter method is faster, yields a slightly different consistency and provides more control over the degree of sweetness. Either way, they are both YUMMM!

Enjoy With...
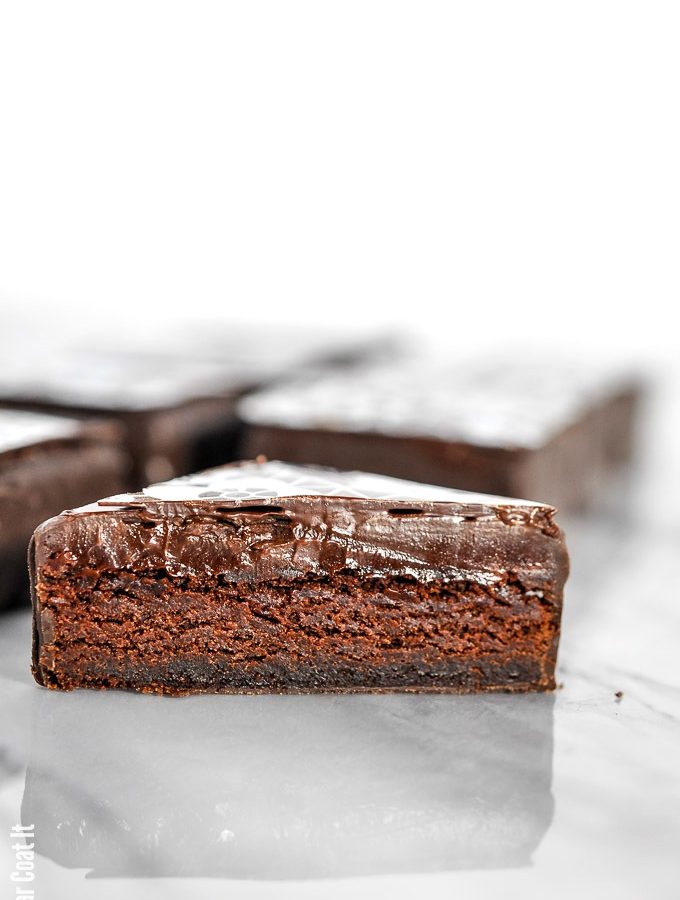
Sometimes on the way to butter/spread ville, we make a detour to chocolate-covered almond town, by coating the candied nuts in a chocolate. They are so good and make wonderful gifts! If you decide to go the butter route, there a many ways to use it.
We enjoy our Maple Almond Butter slathered on toast sprinkled with cinnamon, dolloped on a warm bowl of oatmeal, swirled into yogurt, as a dip to your apple wedges for an afternoon snack, or just spooned straight from the jar, to name a few. Give it a try!

Maple Almond Butter
Ingredients
For the candied nuts:
- 341 grams raw or blanched almonds
- 170 grams pure maple syrup
For the spread:
- nuts from above, powdered in a food processor
- pinch kosher salt
Instructions
To candy the almonds:
- Prepare a baking sheet with a silicone mat, or parchment paper and set aside.
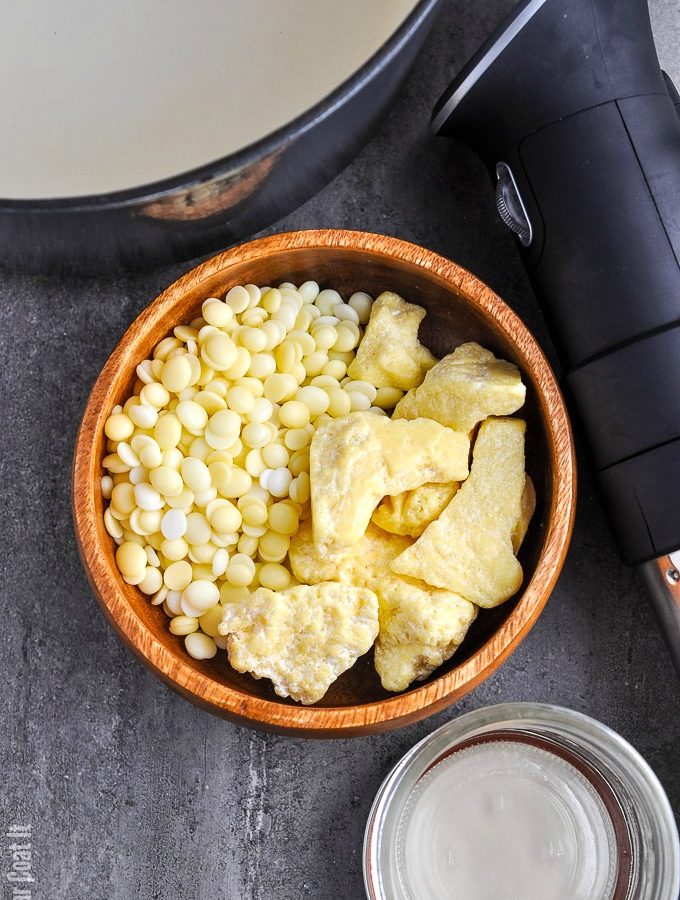
- Toss the almonds in a bowl with the maple syrup and allow to rest for about 30 minutes. Strain off excess syrup (keep the syrup) and lay the almonds, single-layer and spread apart, on the prepared pan. Bake at 325º for 10-15 minutes. Start checking for doneness at the 10-minute mark, until they are ready.
- Remove pan from oven and allow nuts to cool completely.
Make the spread:
- Run the cooled nuts through a food processor to make a powder. If using a melanger to refine, go to the next step. If not, continue processing to a smooth paste. You may need to add some of the strained maple syrup, if the mixture gets too clumpy or your processor is struggling.
- Gently warm the rollers and drum of your melanger with a heating gun and start the machine. Add a pinch of salt to the powdered nuts and add to the machine a little at a time. Process for 2-3 hours, then store in an airtight jar once cooled.