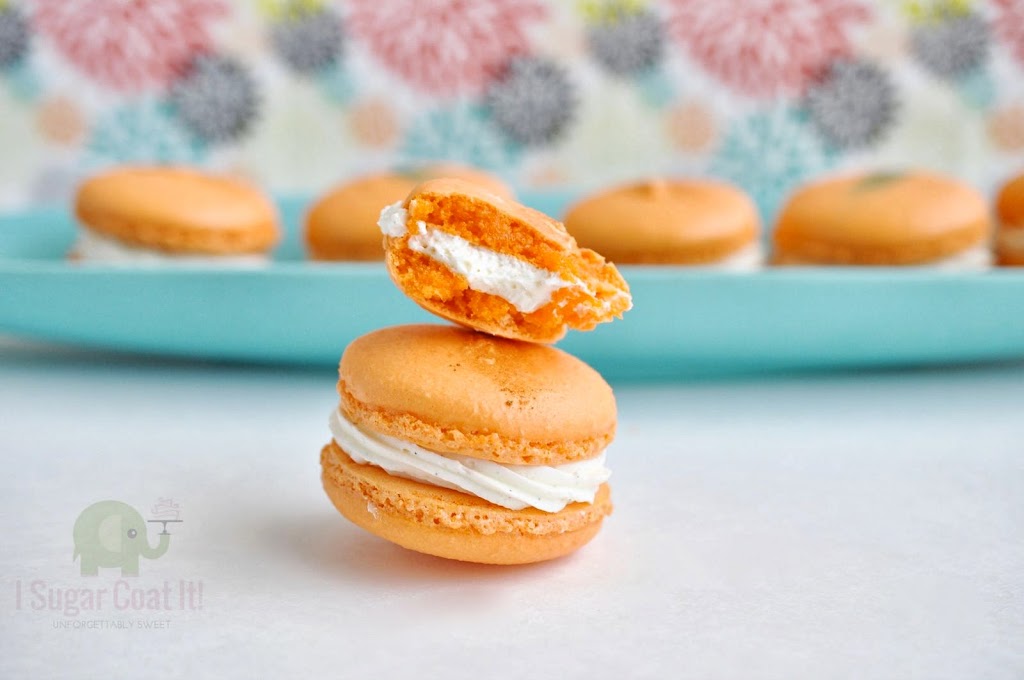


Speaking of summer... Wow, I can't believe a month has passed since I told you all about her pending visit. I mentioned then that I would welcome her with a batch of my Orange Blossom Macarons, but after travelling half way around the globe these Peach Bellini Popsicles seemed more fitting. Even Summer needs to chill out once in a while.


Popsicles conjure up such wonderful childhood memories for me. A rainbow of sweet, sticky, stains on tongue, lips, hands, clothes - a distraction from the occasional frozen brain and converging army of ants. Ahhh, to be five and care-free...
How about you? What childhood summer treat takes you right back in time?


I'm a huge fan of Blurb and so pleased to see that they also have a Canadian site, eh! So, I recently joined their affiliate program. And through the program, YOU can Make Your Own Blurb Cookbook and save 15%! Picture all your lovely family recipes all in one beautiful book - for yourself, or as a gift! Who knows... could become a family heirloom!
Please know that, with the exception of the link to the deal in the paragraph above, this post, and all my posts, are written in my words only. I 've used Blurb long before I started this blog and continue to use them, as I find they make a great product. Anyone who has received one of my books will agree.
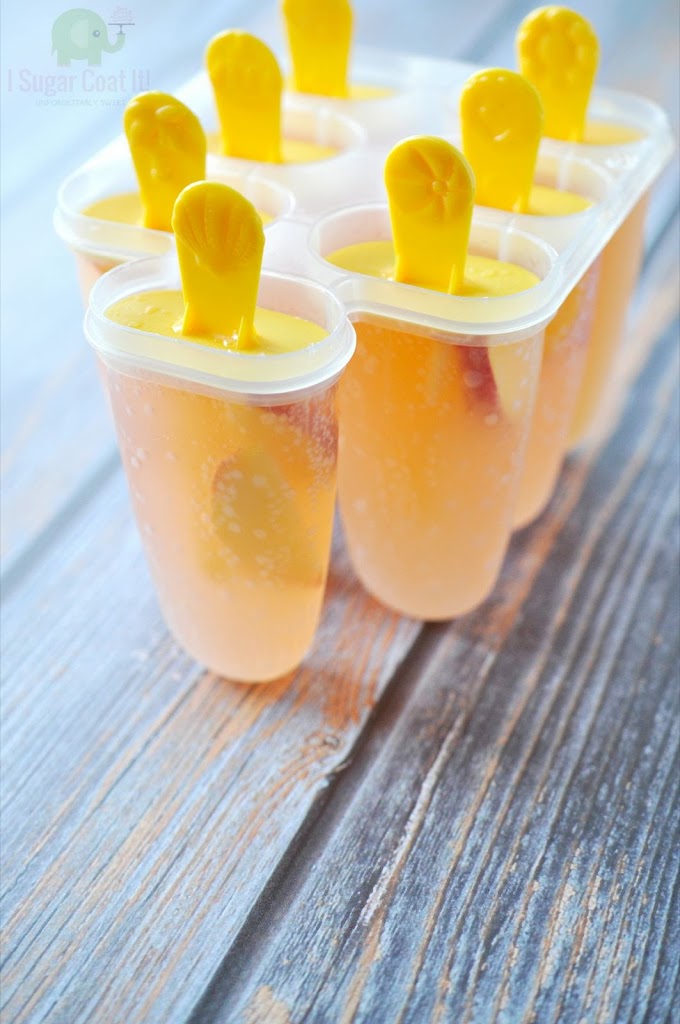
So grab a few of these Peach Bellini Popsicles, or these Lychee Lime Coconut Pops and join me in welcoming summer! Cheers!
[Google Reader will be put to rest on July 1. Follow my blog with Bloglovin and keep it sweet!]

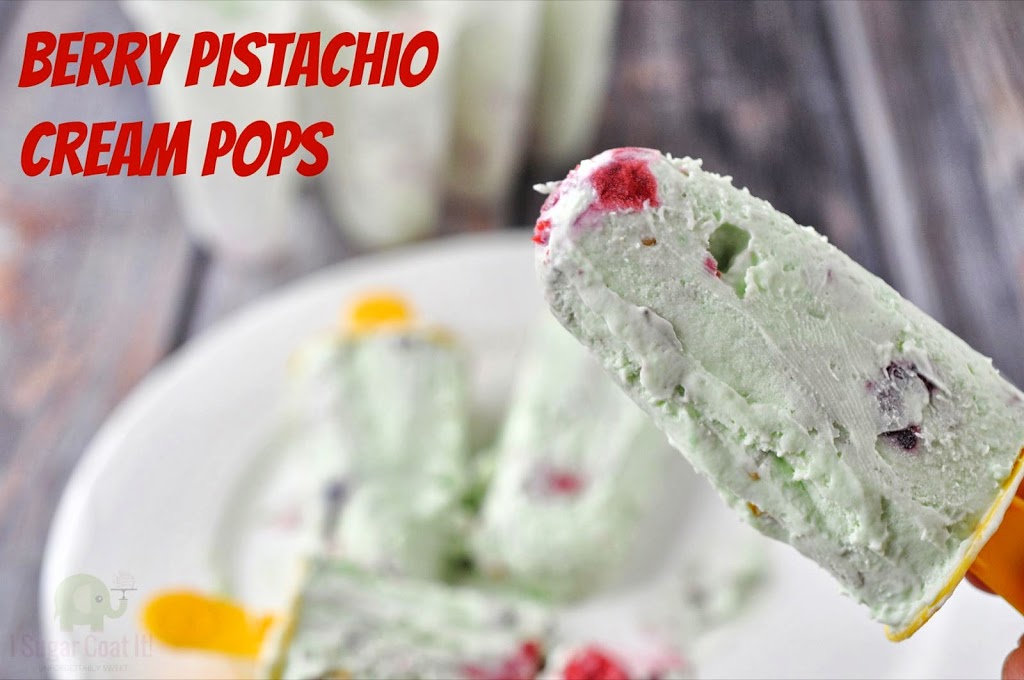
Peach Bellini Popsicles
Ingredients
- 500 ml Peach Bellini Mocktail
- 30 ml Non-alcoholic Mango Margherita Mix optional
- 1 small peach or nectarine
- 1 popsicle mold
Instructions
- Open the mocktails and let them sit in the fridge for about 15 minutes to allow the drink to flatten a bit. This will prevent the popsicles from overflowing in the freezer (trust me!).
- Add the mango mix to the mocktail and pour into popsicle mold.
- Insert thinly sliced pieces of peach into the mold and then insert the sticks.
- Freeze for at least three hours and enjoy!!