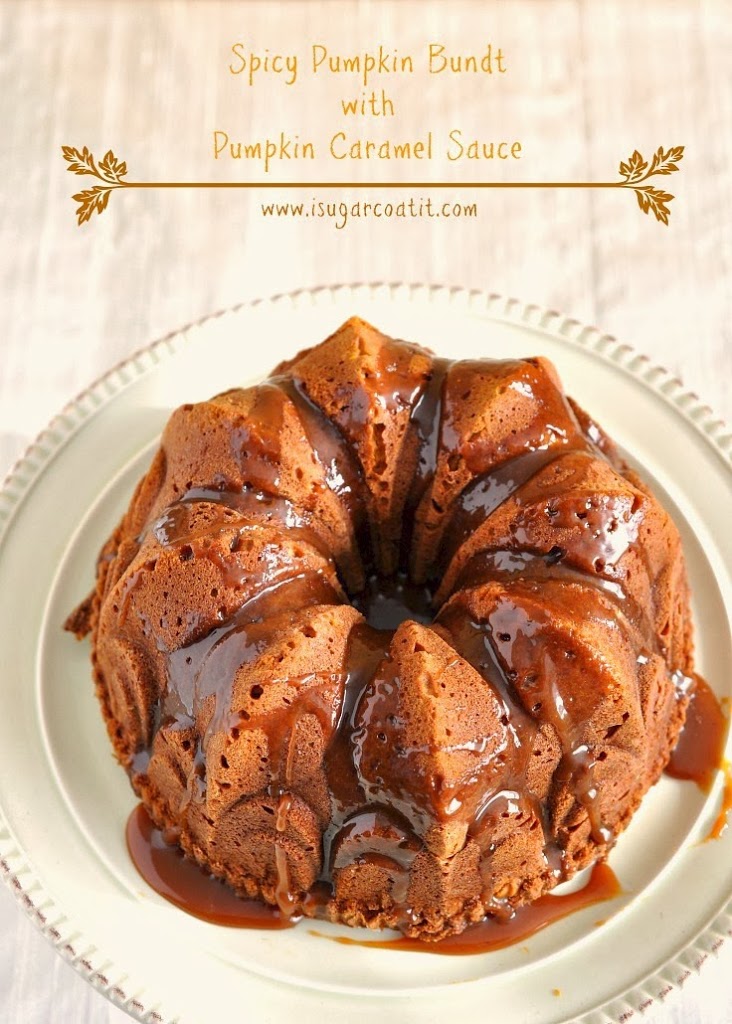

'Tis the season for all things pumpkin and today I'm serving up a Spicy Pumpkin Bundt with Pumpkin Caramel Sauce. Grab a fork, a hot drink and join me...
...for some Spicy Pumpkin goodness smothered in home-made Pumpkin Caramel Sauce. Grab your napkins and take full advantage of this brief salivating intermission... dodododedodedooodadadadodododedodedopapadaaadadadadadoooeeeee

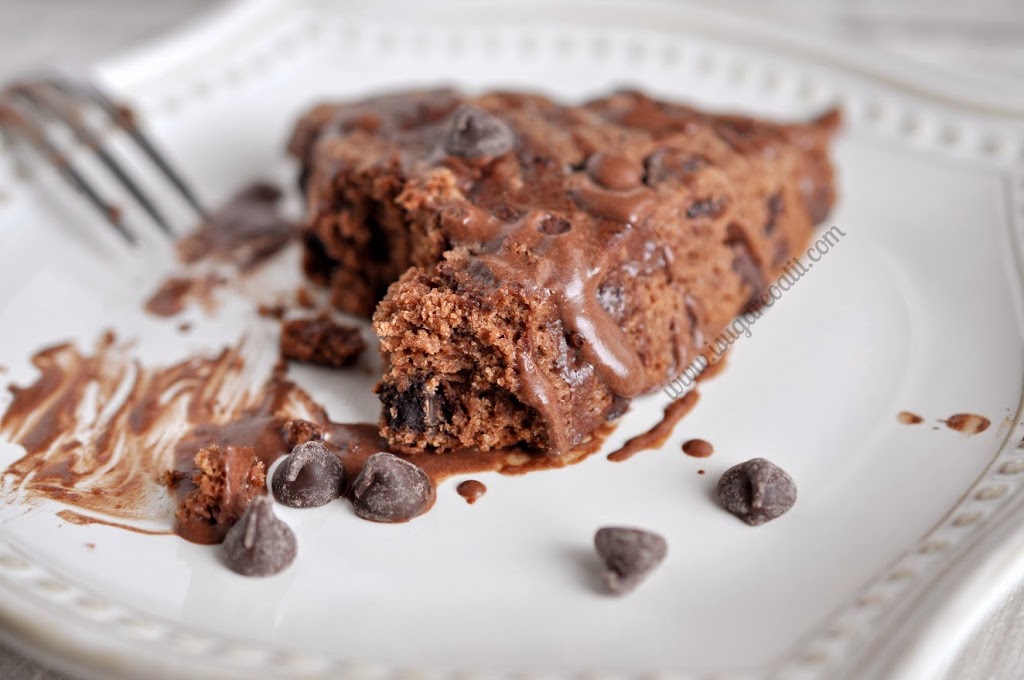
And we are back, folks! Fresh puddles filled our mouths and escaped our lips with each delicious bite. When not carved and perched on porches to illuminate and scare, this vegetable, urm... fruit transforms into a pretty hot number. Albeit, a little rough around the edges, but all spicy hot, creamy sweet and beckoning your tastebuds.
Go to him, um... it, um... Even I'm a little flustered and I know him well!

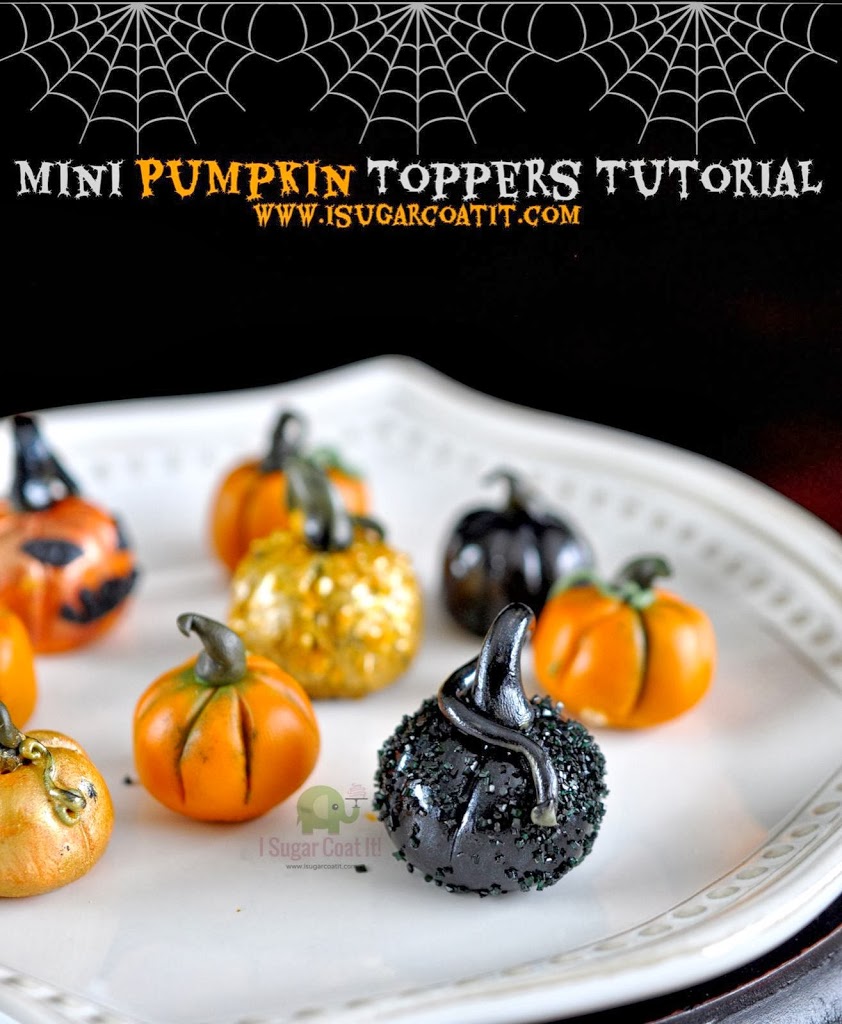
Mr. Spicy and I go back a couple years. When I am not being charmed by Mr. Tall, Dark & Rich, the cooler months are spent with this guy. We hung out in a Mini Pumpkin Patch back in October of 2011, flew around the globe with Santa and the gang in December 2011 and got slathered with Pecan Pumpkin Butter and hid under a witch's frock in October 2012.
Never a dull moment!

This year, we wanted to balance the spice in our relationship with a little sweetness. And boy did things get sweet and sticky!
I took him into work, where he was quickly devoured.
See you back here in a few!

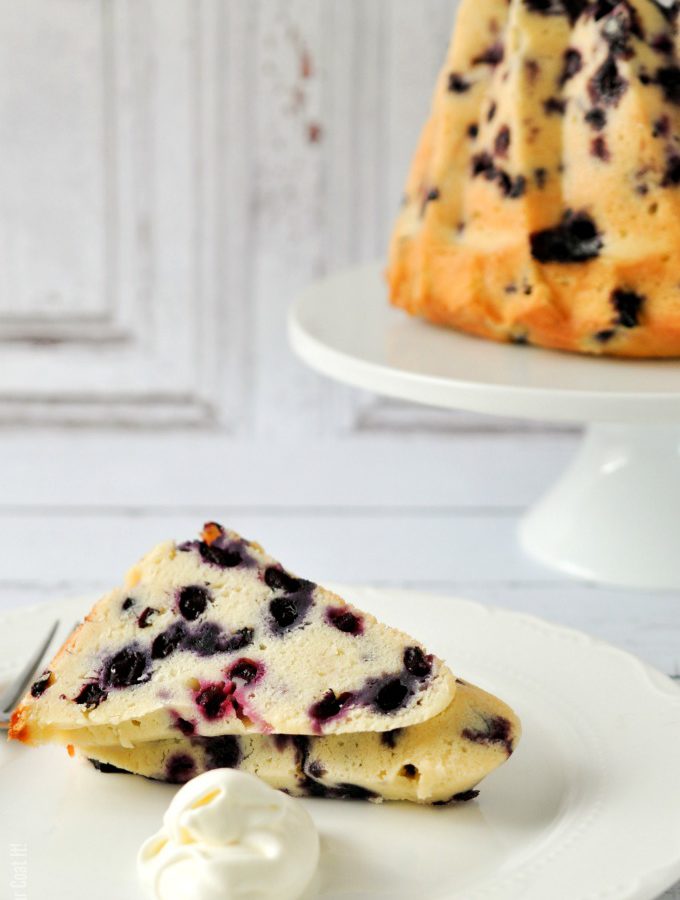
Spicy Pumpkin Bundt With Pumpkin Caramel Sauce
Delicious, creamy home-made Pumpkin Caramel Sauce!
Ingredients
- 1 recipe of Spicy Pumpkin Bundt
- 240 g pumpkin puree
- 340 g 35% Lactose Free Cream
- 450 g brown sugar
- 1.5 g pure vanilla extract
- 7.5 g ground cinnamon
- 2.5 g ground ginger
- 1 g freshly grated nutmeg
- 0.5 g ground clove
- 1.5 g sea salt
Instructions
- In a large, heavy saucepan over medium heat, melt the sugar. Continue to heat until the liquid becomes amber gold in colour.
- Remove the saucepan from the heat and slowly pour half the cream into the melted sugar. Stir using a wooden spoon. [Use extra care to avoid burns]
- Using a hand whisk, whisk the mixture until combined and smooth.
- Whisk in the remainder of the cream along with the pumpkin puree and vanilla extract. Add the spices and salt and leave to cool.
- Once cooled, pour over cake and store any leftover in a sealed jar in the fridge.
- Lick utensils thoroughly before washing and enjoy!


 Hello, hello and happy Humpday! You're here, so I'll venture a wild guess and say that we share an appetite for the sweet stuff - making them, eating them, watching them, or all of the above. So, how do you feel about music?


