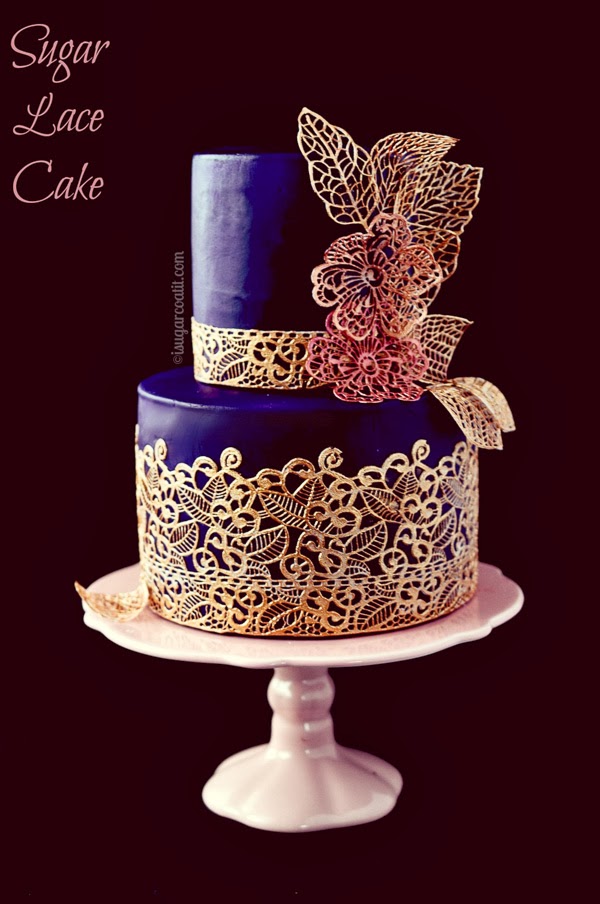
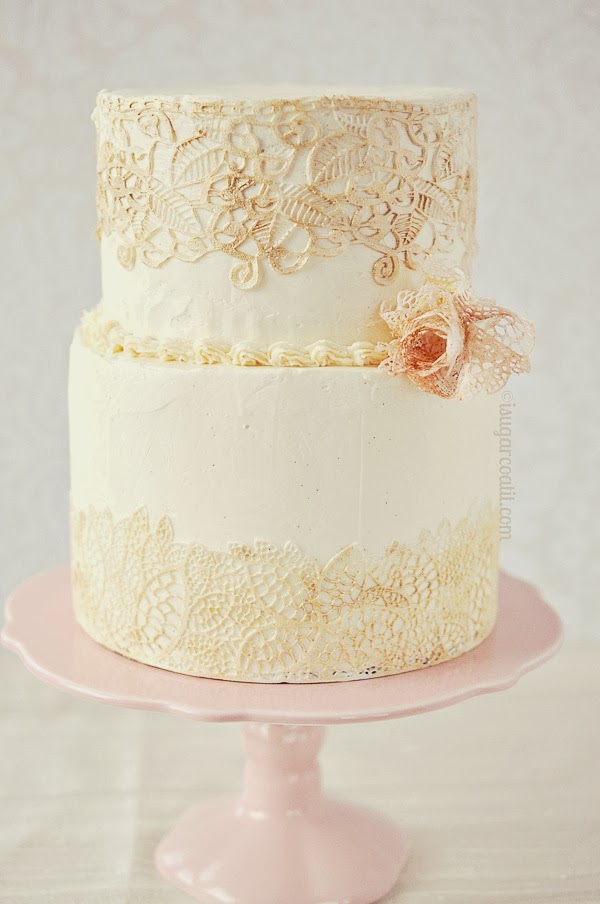
Happy first of February! Let's kick off this love-linked month with a little cake and a lot of lace...

Were you expecting a sea of red? Oh, there will be red over the days leading up to the big V, but today it's a little purple rain and lacy Jane. And although that made absolutely no sense, it rhymed. Mission accomplished!
I thought I would kick off the first day of the month of love with my first fondant cake of 2014. A small, two-tier Sugar Lace engagement cake. He likes purple, she lives in lace and they both like chocolate and peanut butter cake. Naturally, they belong together!

If you have been following my Instagram or Facebook feeds, you already know how smitten I am with the Silikomart lace products. Of the lace products I have tried, this has yielded the best results. I love that after a week, stored in an airtight bag, it was still pliable. That has not been the case with some other products.

I was able to add some colour using a mix of edible food dust and vodka and the lace held up beautifully while being applied to the cakes. Cutting was easy, as well - it did not crack or break.
Check out my 4 Steps To Stunning Sugar Lace post to see how easy it is to create them.

I allowed the leaves and flowers to dry in the open, on a former to add some shape and movement. I used the same method as above to colour the leaves and a mix of food gel and vodka for the flowers. Once dried completely, they held their shape well.
Using a small brush and a little water, I simply brushed the back of the lace and applied them to the cake.

I am rather pleased with the results. I really enjoy making smaller cakes - easy to put together, easier to transport. While I enjoyed making and decorating the cake, photographing it was less fun. Purple is a royal pain in the butt to photograph! But I'm sure I need not point that out. One look at the photos above and it's all too obvious.
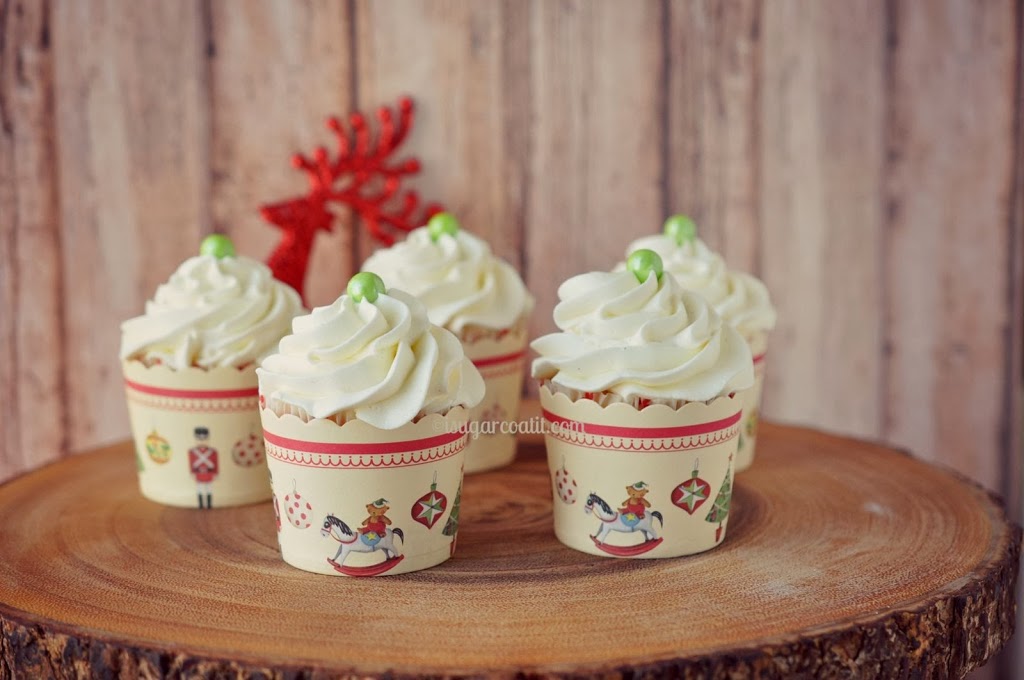
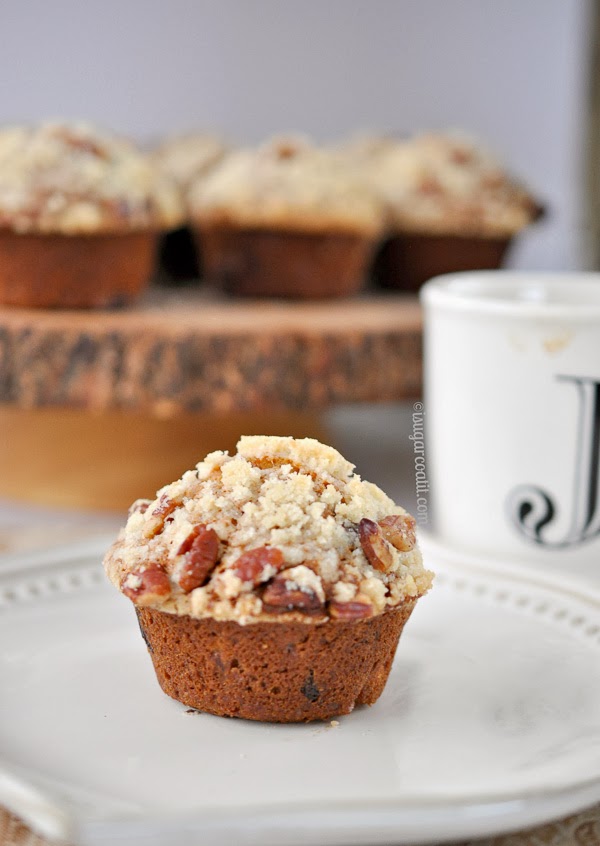
As they say, it's what's on the inside that matters. And inside these five-inch and three-inch tiers was a heavenly chocolate espresso cake with coconut peanut buttercream. I'll share the recipe in a later post when I share these cupcakes.
More Fancy Cakes:
Princess Peony Cake
Have you used this or any other sugar lace product? I'd love to hear from you.
See you back here in a few days. I promise to splatter a little red across your screen.


 Got Eggnog? Well, grab some rum and let's whip up a boozy batch of cookies...Drunken Eggnog Thumbprint Cookies!