• Skip to primary navigation
  • Skip to main content
  • Skip to primary sidebar
  • Home
  • About
    • About I Sugar Coat It
    • Features & Press
    • Copyright
    • Disclosure
    • Privacy Policy
  • Recipes
  • How-To
  • Contact
  • sous vide sista

I Sugar Coat It

Home

All Posts

July 2014 By i sugar coat it! Leave a Comment

Avocado Lime Sorbet {FrozenFriday}

Avocado Lime Sorbet
 Kermit was so wrong - it is indeed easy being green and quite cool, actually. The proof is in this Avocado Lime Sorbet!

OK, confession time. I have not been giving my blog the level of attention I once did. A career outside the home and summer will do that. Winter seems to be longer and harsher each year, so when summer rolls in, I take every opportunity for my body to produce and stockpile vitamin D.

Finding the time to develop a recipe, test it, make it, photograph it, edit photos, and blog about it is difficult year-round, but even more so now. When not at work, a computer screen does very little to hold my interest. Focusing on putting a post together hasn't taken priority these days.
Avocado Lime Sorbet
 
Apart from the warm, vitamin-inducing distractions, we seem to be suffering through a bit of an identity crisis, well, the blog is. I Sugar Coat It will celebrate three years next month and, well, we're feeling a little confused, drained, frustrated and stuck. My current blogging platform only adds to the frustration.

I am not ready to pack it in, but I am in need of change. I haven't quite figured out what that change entails. While I sort things through, I continue to create and picture-take, clogging up my drafts folder with unfinished business.

Avocado Lime Sorbet

These days my freezer sees more action than my oven. Which leads us to this instalment of Frozen Fridays.
This Avocado Lime Sorbet happened last week along side a guacamole-making marathon. K, loves his avocado and has been buying them in droves and using them up as quickly - smoothies, wraps, salads and... sorbets! And it is vegetarian approved!
 
Avocado Lime Sorbet
Show Kermie how easy it is to be green. Blend, chill, scoop and savour! This one's a definite keeper!
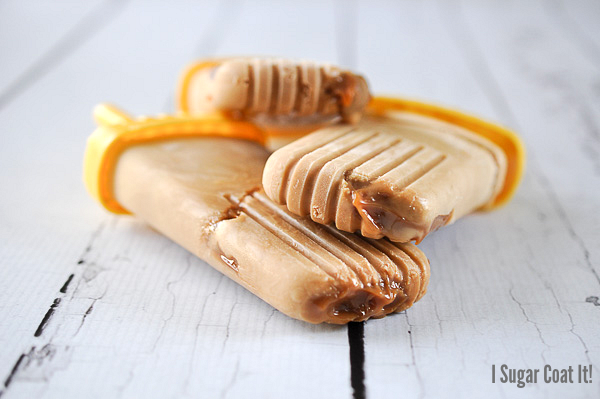
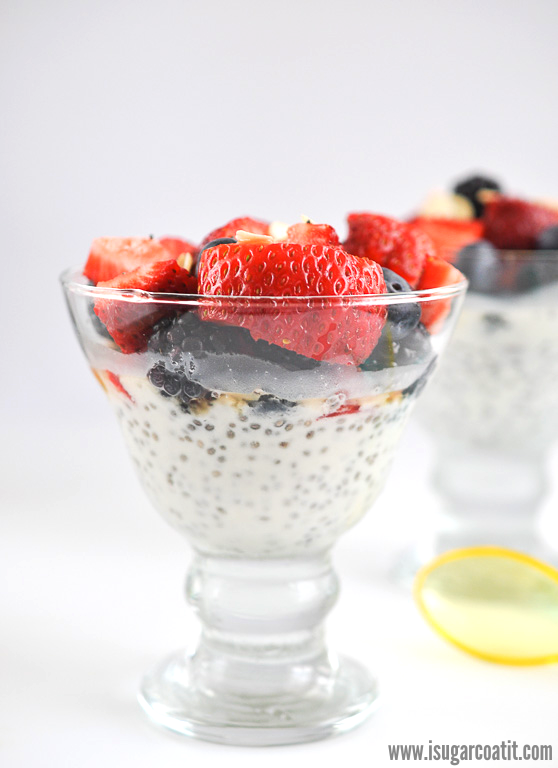
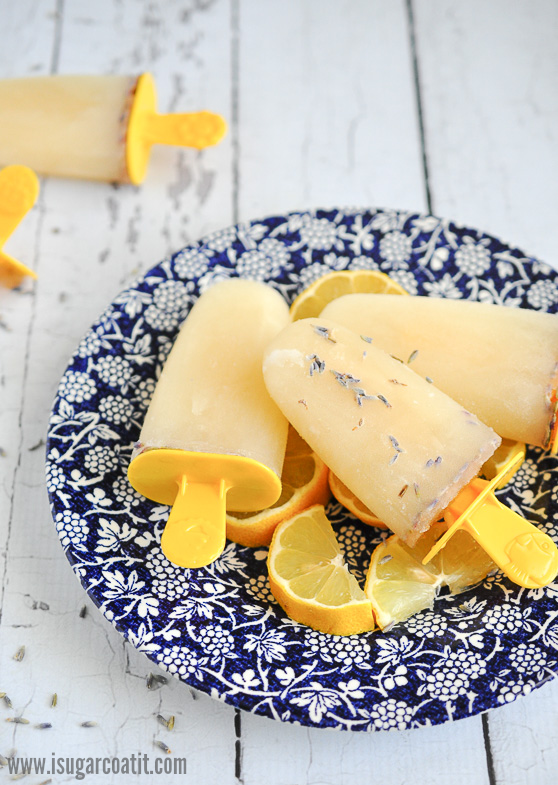
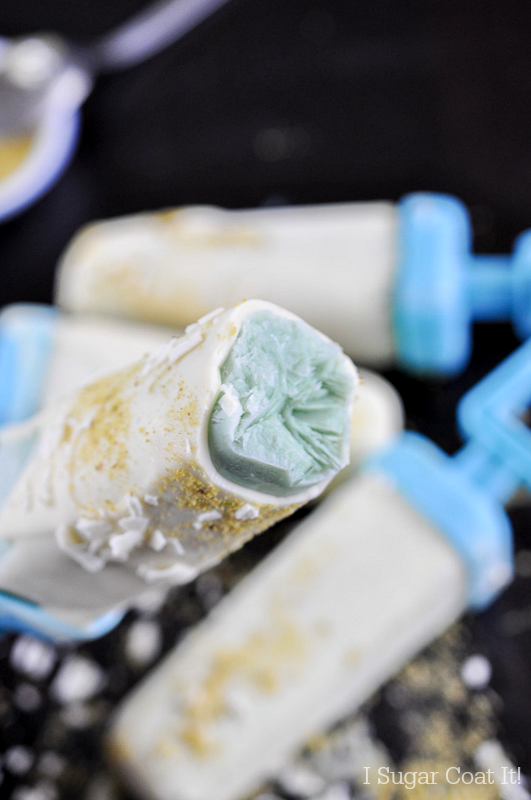
 
More Cool Greenery:
Key Lime Mojito Mousse Cake
Matcha Mojito Macarons
Eat Your Tea Matcha Cheesecake
Equipment:
Blender
OXO Good Grip Trigger Ice-Cream Scoop, or
Cuisipro Ice-Cream Scoop & Stack
 
[This post contains affiliate links.]
Print Recipe

Avocado Lime Sorbet

Creamy, Citrusy and so refreshing summer sweetness!
Prep Time5 minutes mins
Cook Time6 hours hrs
Total Time6 hours hrs 5 minutes mins
Servings: 6 servings
Author: I Sugar Coat It

Ingredients

  • 2 large avocados peeled and stone removed
  • 43 grams raw honey or sugar, adjust to your preferred sweetness
  • 1 large lime juice and zest
  • 118 grams water
  • fresh mint and lime zest to garnish optional

Instructions

  • Place all ingredients, except lime zest, in a blender and blend until smooth and fully combined.
  • Pour mixture into a small baking pan or dish and stir in the zest, using a spatula. Smooth the top and place in the freezer until set, about 6 hours.
  • Use an ice-cream scoop to serve. Garnish, photograph, enjoy!

Notes

Sweet Tip: To easily scoop out the ice-cream, let scooper sit in a bowl of warm water, or hold under warm running water for a few seconds before scooping.

July 2014 By i sugar coat it! Leave a Comment

Biscoff Cookie Butter Milk Pops {Frozen Friday}

Biscoff Milk Popsicle
Happy Friday Friends! Want to see a cookie become a popsicle in two simple steps?

Let's talk Biscoff Spread for a second, folks. If you have not yet had some of this heavenly spread, I suggest you get on it, STAT! Yeah, I know I'm a little late to the game, but I am doing everything within my means, mostly using my finger and tongue, to make up for lost time.

What a novel idea, turning already delicious cookies into an even more delicious spread. Tastebuds totally blown!
Biscoff Milk Popsicle
Biscoff Milk Pops are short on time and ingredients, but oh so large on taste and a welcome addiction. When the idea came to me to add the spread to some coconut milk and make a drink, I really thought I was starting something new and exciting. As I sat down to draft this post, my popsicle pioneering path took a downhill detour, when a quick web search turned up other variations of Biscoff popsicles.
For this batch, I used cow's milk. I have also made batches with coconut and almond milk. They were all tasty, but in this version, instead of competing with the flavoured milks, the Biscoff is centre stage. However, if you are vegan, vegetarian or dealing with food intolerances, the other two were just as tasty.
Biscoff Milk Popsicle
Ready to turn cookies into popsicles? Two ingredients, ten seconds in a blender and freeze! If you aren't already in the kitchen whipping up a batch, there is something fundamentally wrong with you. Seriously! GO! NOW!
Frozen Friday Faves:
Limoncello Lavender Popsicles
Watermelon Coconut Lime Popsicles
Blackberry Baileys Mini Creamsicles 
 
Equipment:
Popsicle mold
Blender

  
[This post contains affiliate links]

Print Recipe

Biscoff Milk Pops {Frozen Friday}

Biscoff Milk Popsicles are a creamy, decadent two-ingredient blend of coconut milk and Biscoff spread.
Prep Time6 minutes mins
Total Time6 minutes mins
Course: Dessert
Servings: 3
Author: I Sugar Coat It

Ingredients

  • 480 ml coconut milk 2 cups, almond or cow's milk would also work
  • 34 g Biscoff spread 3 tbsp, plus a little more for molds

Instructions

  • Place the milk and the Biscoff in a blender and blend on high until combined. This took just a few seconds.
  • Randomly drizzle some Biscoff spread into the popsicle mold, then pour in the Biscoff milk. Insert popsicle sticks and freeze for at least six hours.
  • Place molds under warm running water to easily remove popsicles.
  • Stick out your tongue and enjoy!!!

July 2014 By i sugar coat it! Leave a Comment

Coconut Chia Pudding Fruit Cups {Breakfast Club}

 Coconut Chia Pudding Fruit Cups
Hello, hello! Just a quick post to share with you my newest breakfast addiction - Coconut Chia Pudding Fruit Cups!
These are perfect for the warm summer months, a breeze to make, great for on-the-go and oh, so tasty! Mix some chia seeds with coconut milk, cover and place in the fridge to thicken overnight. We sometimes use pure maple syrup or raw honey to sweeten ours a little.
Here are a couple other variations from my Instagram feed.
Coconut Chia Pudding Fruit Cups
For this variation, we used chilled silken tofu, pure maple syrup and chia as the base, then topped with fresh fruits. This version thickens up immediately because of the tofu, so it can be enjoyed immediately.
Coconut Chia Pudding Fruit Cups
Another variation we made, used fresh mango pulp, mangosteen powder, raw honey and chia as the base. These were made in mason jars, so that we could take them to work. Fresh fruits were cut, packed into baggies and then added to the pudding at work. Perfect companion for the morning news.
Coconut Chia Pudding Fruit Cups
I am not certain where these originated, but I have seen a number of images on Pinterest. We didn't really follow a particular recipe, just went with our taste until we were pleased with the outcome.
Cool Breakfast Break:
Blueberry Chia Smoothie
Breakfast Smoothie Popsicle
Watermelon Spinach Spirulina Smoothie
Print Recipe

Coconut Chia Pudding Fruit Cups

Chia seeds with coconut milk and mango puree topped with fresh fruit for a tropical breakfast on-the-go!
Course: Breakfast
Servings: 2
Author: I Sugar Coat It

Ingredients

  • 1 small can of coconut milk or 1 cup mango pulp, or tofu
  • chia seeds approx 2 tablespoon added to each serving
  • maple syrup or honey
  • fresh fruits of your choosing
  • slivered almonds to garnish

Instructions

  • Split the milk, mango or tofu among the two cups. Stir in the chia seeds maple syrup or honey. Cover and chill.
  • Top with fresh fruits and sprinkle with slivered almonds. A little drizzle of maple syrup to top things off couldn't hurt. 🙂
  • Grab a spoon and enjoy!


July 2014 By i sugar coat it! Leave a Comment

Limoncello Lavender Popsicles {#FrozenFriday14}

 Limoncello Lavender Popsicles
 Hey ya'll! Happy Fourth of July! I have no red, white and blue here today, but I come bearing tipsy, lemony lavender summer bliss on a stick.

Oh my freakin' so-and-so IT IS HAAAAWT! We're hanging out in cottage country this weekend, sans AC and even with the intermittent downpours, my limbs feel corseted in cement-like armour. When I finally peel myself off whatever surface I find myself stuck to, I move at a steady, molasses-like click. And my brain, well that's been on strike since returning from my last vacation.

Limoncello Lavender Popsicles
To sum up - I am just a hot, frizzy-haired, dripping wet mess! I'm not hatin' though, not after the unbearably, frigid winter we just had. Shudder. Speaking of cold...
Nothing wrong with a little chill in small, sweet, citrusy, alcohol-laden doses. Enter these mouthwatering Limoncello Lavender Popsicles. To my palate, this is the perfect blend - citrus, which is synonymous with summer, lends a tart balance to the sweet notes of the lavender honey and the club soda wraps it up in a subtle, dry fizz.
Limoncello Lavender Popsicles
These 3-ingredient popsicles are the perfect after barbecue adult treat and also makes a great beverage when shaken with a touch of gin and ice! Substitute lemonade for the limoncello and you have a kiddo-friendly, just as refreshingly delicious treat.
More Frozen Friday Fun:
Watermelon Coconut Lime Popsicles
Peach Bellini Popsicles
Malibu Summer Soothers
Print Recipe

Limoncello Lavender Popsicles {#FrozenFriday14}

Limoncello Lavender Popsicles are the perfect blend of citrus, lavender honey and a subtle, dry fizz of club soda.
Prep Time8 minutes mins
Total Time8 minutes mins
Course: Dessert
Servings: 7
Author: I Sugar Coat It

Ingredients

  • 250 ml limoncello . 1 cup, I used Rossi D'Asiago Limoncello
  • 500 ml club soda 2 cups
  • 64 g lavender honey 3 tbsp
  • lavender buds optional

Instructions

  • In a pitcher, infuse the limoncello with lavender buds by allowing them to soak for an hour, or overnight for a more pronounced lavender flavour.
  • Pour the infused limoncello through a strainer to remove the soaked buds. Add the club soda and honey to the infused limoncello and stir until the honey is fully incorporated.
  • Pour into popsicle molds, sprinkle in lavender buds and stir.
  • Add popsicle sticks and freeze for 6-8 hours, or overnight.
  • To release popsicles, run mold under warm running water and they will easily slide out after a few seconds.
  • SWEET TIP:
  • To distribute the lavender buds throughout the popsicle, use a small pastry brush to add a thin layer of honey to the inside of the molds. Sprinkle in the buds and they will stick to the sides.
  • Lick responsibly and enjoy! Oh and check out my new Nutrition Facts tool below.

June 2014 By i sugar coat it! Leave a Comment

Pistachio White Chocolate Popsicles {#frozenfriday14}

 Happy Friday folks! This instalment of Frozen Friday includes a little pistachio, lots of white chocolate and a cup of magic to create these Pistachio White Chocolate Popsicles!
 Happy Friday folks! This instalment of Frozen Friday includes a little pistachio, lots of white chocolate and a cup of magic to create these Pistachio White Chocolate Popsicles!
Time seems to be flying by at record speed, don't you think? I mean July is less than a week away. JULY!! So why is this only my third popsicle post this year?
Popsicles are one of those warm weather treats I can't seem to get enough of. They're such a throw-back to childhood. One of my faves was the variety we coined *orangesicles* - they had a white chocolate shell that I could not wait to bite into. Inevitably, resulting in brain freeze. Good times!
 
 Happy Friday folks! This instalment of Frozen Friday includes a little pistachio, lots of white chocolate and a cup of magic to create these Pistachio White Chocolate Popsicles!
Pistachio is one of my favourite nuts, right up there with cashews and almonds. There's just something so beckoning about that half-opened shell. It's certainly not an easy nut - a little work is required if you want a taste of these little green gems.
I made pistachio and white chocolate cupcakes the other day and had a little pistachio paste left. I thought the flavour combination would translate well to a popsicle. The first two tries yielded a sludge even the hungriest of wild animals would pass up. Third try is what I am sharing today.
 
Pistachio White Chocolate Magic Shell Popsicles
 
Let's Get it Poppin':
Watermelon Coconut Lime Popsicles
Blackberry Baileys Mini Creamsicles
Watermelon Coconut Cucumber Popsicles
 
Print Recipe

Pistachio White Chocolate Popsicles {#frozenfriday14}

Pistachio popsicles dipped in a white chocolate coconut oil mixture that magically forms a shell on contact!
Course: Dessert
Servings: 4
Author: I Sugar Coat It

Ingredients

Popsicles:

  • 45 g pistachio paste 2 tbsp, I use Love'n Bake Pistachio Paste
  • 220 g coconut milk 1 cup
  • 2 generous scoop pistachio ice-cream home-made or store bought
  • 42 g raw honey 2 tbsp
  • white chocolate flakes
  • a touch of green food colouring optional

Magic Shell:

  • 180 g white chocolate chips 1 cup, I use Callebaut White Callets
  • 27 g coconut oil 2 tbsp, I use Nutiva Virgin Organic Coconut Oil
  • white chocolate flakes and ground pistachios to garnish

Instructions

  • Place all the ingredients in a blender and mix until fully incorporated. Adjust amount of honey to your liking.
  • Pour into popsicle molds and transfer to the freezer. Allow to freeze for 6-24 hours.
  • To make the magic shell: Place the chocolate callets in a microwave safe dish. I used a flexible silicone measuring cup, which made it easy to dip and the popsicles for full coverage.
  • Melt chocolate in a microwave in 30-second intervals, stirring every 30 seconds. Once melted and smooth, add the coconut oil and stir until fully incorporated. Let cool slightly.
  • Remove the popsicles from the freeze and unmold by placing under warm running water. Remove the popsicles one at a time and quickly dip into the white chocolate mixture.
  • Immediately garnish with white chocolate flakes and ground pistachios. The shell forms almost immediately, so you will need to move quickly.
  • Place the covered popsicles on a plate and return to the freezer until ready to eat, or enjoy immediately.

June 2014 By i sugar coat it! Leave a Comment

2 Minute Chocolate Mug Cake and Sugar Succulent Flowers

2-Minute Chocolate Mug Cake with Sugar Succulent Topper. {Gluten-Free, Dairy-Free and Vegan.}
2-Minute Gluten-Free, Dairy-Free, Vegan Chocolate Mug Cake and Sugar Succulents. Well, that right there is a mouthful, isn't it? Or should I say a mugful...

I first came across a microwave mug cake some twenty-seven months ago and immediately made one and then shared it on Instagram, naturally. Topped with a little whipped cream, it served its purpose as a quick fix treat on the night in question and that was the end of that.

Truth be told, I am not a big fan of microwaved anything. I get turned off from most left-over meals for that very reason. I am super picky when it comes to texture, and there is something about microwaved meals that generally does not appeal to my palate. But I digress...
2-Minute Chocolate Mug Cake with Sugar Succulent Topper. Gluten-Free, Dairy-Free and Vegan.
On a trip to the dollar store to purchase a few more white boards for my food photos, I came across this 4-piece silicone baking tea set. Cute, BPA-free and only $3.00 - why not! They sat for about two months before I remembered I had them and then for another two weeks after that. I finally put them to use a couple weeks ago to whip up a quick treat for unexpected guests.
I am not a fan of boxed mixes, so I don't keep them on hand, but I had all I needed to nuke up a few Chocolate Mug Cakes. This time, to satisfy the ever-changing dietary needs of one particularly difficult friend and one undecided vegetarian/vegan mister, I made some changes on the fly that worked out deliciously well. And the cups worked as they claimed - easy release and clean up! YAY!
 
2-Minute Chocolate Mug Cake with Sugar Succulent Topper. Gluten-Free, Dairy-Free and Vegan.
Nuked and somewhat cooled, I topped them with chocolate vermicelli and a generous dollop of whipped coconut cream (not shown). They were melt-in-your-mouth deeeelightful, but this all went down after dark with not a decent photo to share. To remedy that, I made a few more to photograph and share with you. I thought they would look cute topped with sugar succulents, which, by the way, were so easy to make! I'll show you how, in a future post...
 
2-Minute Chocolate Mug Cake with Sugar Succulent Topper. Gluten-Free, Dairy-Free and Vegan.
For now, take two minutes to whip up a few of these 2 Minute Chocolate Mug Cake and Sugar Succulent Flowers. With summer steadily warming up, they're a quick, easy, delicious alternative to turning on the oven!
The recipe from which this was adapted can be found on FoodNetwork. In addition to adjusting the amount of some of the ingredients, my version is gluten-free, dairy-free and vegan.
Easy Like Sunday Morning:
No-Bake Vanilla Wafer Butter Cups
No-Bake Maple Berry Vegan Cheese Cake
No-Bake Pomegranate Pecan Tofu Mousse Tart
Print Recipe

2 Minute Chocolate Mug Cake & Sugar Succulents {Gluten-Free, Dairy-Free, Vegan}

Quick, easy, delicious, gluten and dairy free, vegan Chocolate Mug Cake!
Prep Time5 minutes mins
Cook Time2 minutes mins
Total Time7 minutes mins
Course: Dessert
Servings: 3
Author: I Sugar Coat It

Ingredients

  •  egg replacer  3 tbsp, 1 tablespoon flaxseed meal mixed with 3 tablespoon water, let stand for 5 minutes
  • 23 g gluten-free flour ¼ cup, I use Cup4Cup Gluten-Free Flour
  • 36 g cane sugar 3 tbsp
  • 21 g carob powder 3 tbsp
  • 45 g carob chips ¼ cup
  • 41 g coconut milk 3 tbsp
  • 40 g coconut oil 3 tbsp, I use Nutiva Organic Virgin Coconut Oil
  • 3 g vanilla bean paste ½ tsp
  • dash of salt
  • chocolate vermicelli to garnish  optional

Instructions

  • Prepare the flax egg replacer and set aside for 5 minutes.
  • Add all the ingredients, except the vermicelli, to a bowl with a pouring lip. Whisk until smooth.
  • Pour into cups and microwave for approximately 2 minutes, or until puffed.
  • Enjoy as is, or add toppings of your choosing. It's great with whipped coconut cream!

Notes

You will need:
Tea Cup Cupcake Mold
Hope you are enjoying the summer. See you back here in a few days!

Spinach Spirulina Smoothie. Smoothie Resolution Round Up 2017.

June 2014 By i sugar coat it! 1 Comment

Watermelon Spinach Spirulina Smoothie

Watermelon Spinach Spirulina Smoothie
Good morning, sweet peeps and happy first day of summer!! We're getting our green on today with two of my favourite warm weather foods, turn smoothie.
Who among us does not like a hot-pink, juicy slice of watermelon when it's steaming hot out? And when it's too hot to think of cooking, what spins in to save the day? Salad, of course! I particularly enjoy a big old bowl of baby spinach topped with fresh fruits and nuts.And if it tastes good in a bowl, why not through a straw?? Welcome to J-logic...
Watermelon Spinach Spirulina Smoothie
So on command, into my trusty little blender marched all the things - organic baby spinach, watermelon, mixed frozen berries, spirulina powder, mangosteen powder and a little passion fruit. Press button, cause a commotion, pour, top with chia seeds and enjoy!
Now, I love all things green - kale, asparagus, broccoli, artichoke, kiwi to name a few. For those who aren't so fond of green food, the addition of watermelon and passion fruit will be pleasantly pleasing to your tastebuds.
Watermelon Spinach Spirulina Smoothie

A perfect start to Summer and Saturday!
Eat Your Greens:
Matcha Passion Fruit Cupcakes
Matcha Cheesecake
Matcha Mojito Macarons
 

Spinach Spirulina Smoothie. Smoothie Resolution Round Up 2017.
Print Recipe

Watermelon Spinach Spirulina Smoothie

Servings: 2 servings
Author: I Sugar Coat It

Ingredients

  • 2 cups watermelon cubed
  • 2 handfuls baby spinach
  • ½ tablespoon spirulina powder
  • 1 tablespoon mangosteen powder
  • ½ cup mixed berries frozen or fresh
  • ½ cup passion fruit juice
  • a pinch of chia seeds to garnish

Instructions

  • Place all the ingredients in a blender and blend on high until incorporated. Sprinkle with chia seeds and enjoy!

Notes

You will need:
Blender
 

June 2014 By i sugar coat it! Leave a Comment

Watermelon Coconut Lime Popsicles {#FrozenFriday14}

Watermelon Coconut Lime Popsicles
Frozen Fridays are BAAACKKK! We are officially kicking things off with these delicious Watermelon Coconut Lime Popsicles!

Summer doesn't officially roll in for another month or so, but that won't stop me from freezing all the flavours I love about summer, on a stick.

Let me temporarily turn your tastebuds back to my Watermelon Coconut Cucumber Chillers. These are a slight variation using lemon in place of cucumber. Deliciously refreshing!
Watermelon Coconut Lime Popsicles
Last year I had so much fun creating a series of frozen treats - you can see a recap in my Popsicle Round-Up - I thought I would stage an encore. Each Friday I will share a sweet, frozen treat with adults and kiddos in mind - but mostly adults. 😉
I also want to see and share your creations, so be sure to join in the fun on:
  • Pinterest - to become a contributor to our #frozenfriday board, leave a note in the comments below, or send us a request.
  • Instagram - join me on Instagram and tag your photos with #frozenfriday14. I'll re-gram some favourites weekly.
  • Facebook - post your creations on my Facebook page and I will feature favourites weekly.
Who knows, there may be a give-away or two along the way!
Watermelon Coconut Lime Popsicles
So, back to these Watermelon Coconut Lime  Popsicles - they're wonderfully refreshing. Go make a batch!
 
More Frozen Fruity Fare:
Malibu Summer Soothers
Peach Bellini Popsicles
Lychee Lime Coconut Popsicles
Print Recipe

Watermelon Coconut Lime Popsicles {#FrozenFriday14}

Watermelon Coconut Lime Popsicles are a refreshing blend of watermelon, coconut water and lime.
Prep Time10 minutes mins
Cook Time6 hours hrs
Total Time6 hours hrs 10 minutes mins
Course: Dessert
Servings: 10
Author: I Sugar Coat It

Ingredients

  • ½ large watermelon cubed
  • 2 cups coconut water
  • 3 freshly squeezed limes

Instructions

  • Place all ingredients in a blender and blend until liquified. If still too thick, add more coconut water until the desired consistency is reached.
  • Pour through a sieve/strainer to remove any remaining lumps.
  • Pour into molds, insert popsicle sticks an freeze for 4-24 hours. This particular mold has a metal top with slots for the popsicle sticks.
  • To unmold popsicles and remove cover, place under warm running water. They slide out with very little effort.

Notes

You will need:
Popsicle mold
Popsicles sticks
 I-Sugar-Coat-It-Blog-Signature-Green
[this post contains affiliate links]

June 2014 By i sugar coat it! Leave a Comment

Bacon Carob Chip Cookies

Bacon and Carob Chip Cookies
Hello again! So we've made it halfway through the week. How about a quick treat break to celebrate? Bacon and Carob Chip Cookies anyone?

I knew you would say yes! Please, sit - right where you are is fine. Coffee, tea, or a tall glass of milk? Either way these cookies will not disappoint. OK, milk it is!

Bacon and Carob Chip Cookies
These cookies are da bomb dot com! You may have seen them a couple months ago on my Instagram feed. I have not made them since and for good reason - they are slightly addictive. Plus the mister is vegetarian and does most of the grocery shopping, so bacon rarely makes the list. 
I first came across Bacon Chocolate Chip cookies on Running To The Kitchen blog. I didn't change much for this version of Bacon & Carob Chips. I substituted pure maple syrup for honey, vanilla bean paste instead of vanilla extract and used carob chips in place of chocolate chips. I also doubled the recipe and left half the cookies without bacon, so that the mister could enjoy a few.
The recipe is paleo, as well as grain, gluten and dairy free. That's a whole lot of free for a delectable cookie.
Bacon and Carob Chip Cookies
Bacon in a cookie may seem odd to some. Trust me, it isn't. Come on its bacon, after all!
 
Me Want More Cookie:
Breakfast Cookies
Drunken Thumbprint Cookies
Carob Cookies for the Cause
You will need:
Cookie sheets
Silpat Mat or Parchment Paper
Cooling Rack

Print Recipe

Bacon Carob Chip Cookies

Paleo, grain, gluten and dairy free Bacon Carob Chip Cookies.
Prep Time10 minutes mins
Cook Time12 minutes mins
Total Time22 minutes mins
Course: Dessert
Servings: 16
Author: I Sugar Coat It

Ingredients

  • 193 g almond flour 2 cups
  • 1.25 g salt ¼ tsp
  • 1 g baking soda ¼ tsp
  • 81 g coconut oil 6 tbsp, melted
  • 87 g pure maple syrup 4 tbsp
  • 14 g vanilla bean paste 2 tsp
  • 30 g coconut milk 2 tbsp
  • 90 g carob chips ½ cup
  • 3 strips of bacon cooked and coarsely chopped

Instructions

  • Preheat oven to 350ºF.
  • Line two baking sheets with silpat mats and set aside.
  • Sift together the almond flour, salt and baking soda in a large bowl. A larger sifter that will allow the almond flour to easily flow through is best. Stir in the bacon and carob chips, using a wooden spoon, or spatula.
  • (if omitting the bacon from half the batch, divide the batter in half once the wet ingredients have been added. Then split the carob chips across each half before adding the bacon pieces to half the batter.)
  • In a separate bowl, whisk together the coconut oil, maple syrup, vanilla bean paste and coconut milk. A hand whisk will do the job. Add to the almond flour mixture. Fold until combined.
  • The batter will be wet and sticky. Use a small ice-cream scoop to form the dough into balls. Place on silpat about 2-inches apart.
  • Bake for 12 minutes.
  • Remove from the oven and allow to cool on the baking sheet for about 5 minutes.
  • Once set, move to a wire cooling rack and sprinkle with a little sea salt.
  • Enjoy while still slightly warm with your beverage of choice.
  • See you back here on Friday to formally kick off #FrozenFriday14!

Notes

{adapted from Running to the Kitchen}

{This post contains affiliate links.}

  • « Go to Previous Page
  • Page 1
  • Interim pages omitted …
  • Page 32
  • Page 33
  • Page 34
  • Page 35
  • Page 36
  • Interim pages omitted …
  • Page 51
  • Go to Next Page »

Primary Sidebar

Never Miss A Happy Ending...

Previous Sweetness...

Search

Filter by Category

Filter by Date

SWEETEN YOUR INBOX!

All Content Including Images Copyright Jacqueline | I Sugar Coat It© 2026