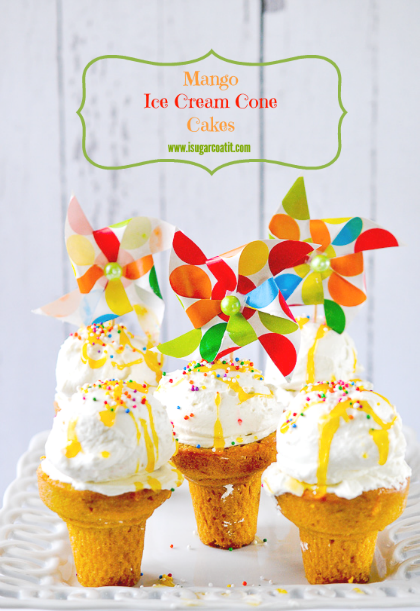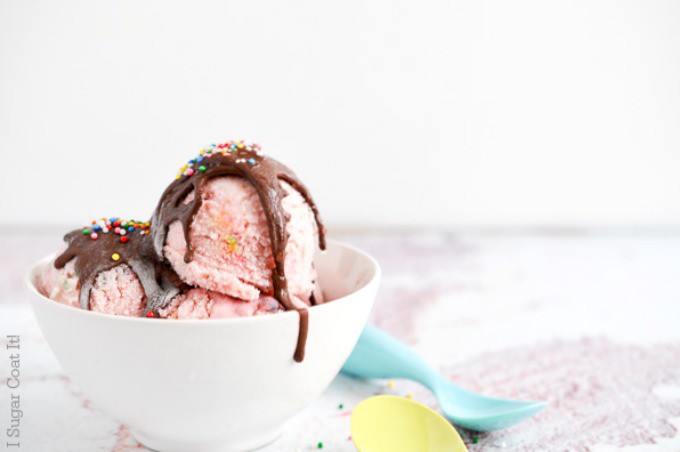

What's better than cookies and milk? Cookies and ice cream, of course! Paleo Chocolate Chip Ice Cream Cookiewiches and a giveaway to celebrate the last couple weeks of summer!
I received a copy of Paleo Ice Cream - 75 Recipes for Rich and Creamy Homemade Scoops and Treats by Ben Hirshberg, from the folks at Ulysses Press.
I was super excited to try a few paleo ice cream, not because I follow a paleo diet, but that they provided a lactose-free option. I was also very curious to see how the recipes stood up to traditional ice cream.

In addition to the recipes for ice cream *proper*, there are a few recipes for banana and cashew-based ice creams that can be easily whipped up in a blender or food processor. YUMMMM! Additional treats include Coconut Sugar Cones, Brownies and Sunflower Seed Butter Sauce, to name a few.
I tried out a few recipes before sharing this post - some of which I will share in future posts. A few I tweaked, but mostly for for my personal taste. I love how easy each recipe is and how short and recognizable the ingredient lists are.
In short, I am enjoying this book. My only disappoint was the lack of photos beyond the cover. That did not deter me from delving in and looking for ways to make the recipes my own.

And you'll have an opportunity to do just that with your very own copy of Paleo Ice Cream!
Just enter using the Rafflecopter widget below for a chance to win! Giveaway is open Worldwide and closes at midnight, Friday, September 19, 2014. (see full Terms & Conditions below). The book will be shipped directly to the winner from Ulysses Press.
Cookie Love:


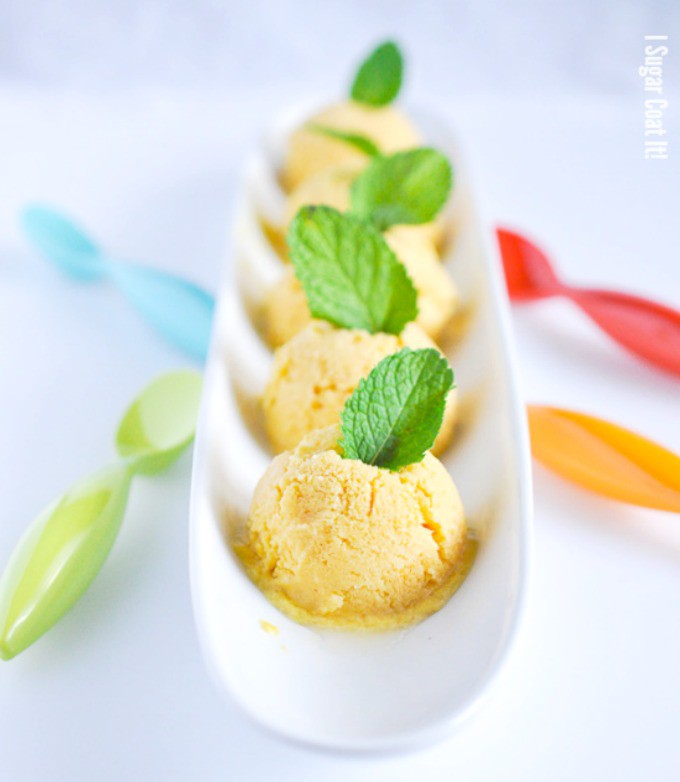
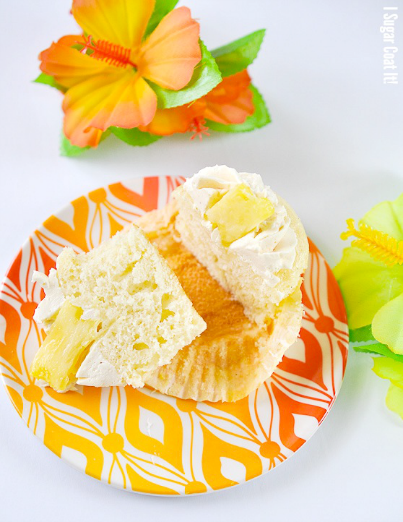
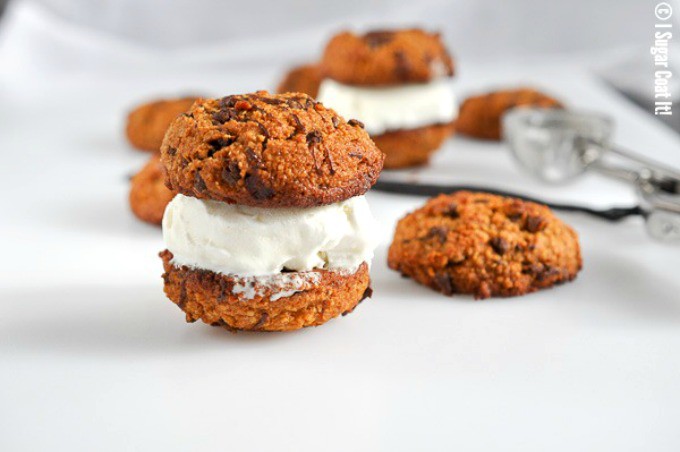
Paleo Chocolate Chip Ice Cream Cookiewich
Servings: 12
Ingredients
Ice Cream
- 383 g coconut milk 1 ¾ cup
- 85 g raw honey 4 tbsp
- 1 g xanthan gum ¼ tsp, optional
- 235 g coconut cream 1 cup
- 4 egg yolks
- toasted coconut flakes to garnish optional
Cookies
- 290 g almond flour 3 cups
- 4 g baking soda 1 tsp
- 5 g sea salt 1 tsp
- 114 g raw honey ⅓ cup
- 6 g vanilla bean paste 1 tsp
- 2 eggs
- 107 g coconut oil ½ cup
- mini 2 cups
- semi-sweet
- chocolate chips
Instructions
- In a medium saucepan over low heat, combine coconut milk, honey, xanthan gum (if using) and coconut cream. use a wooden spoon to stir continually, until mixture thickens enough to coat the back of the spoon. About 6-8 minutes. Set aside.
- In the bowl of your electric stand mixer, using the whisk attachment, whip the yolks until they reach a fluffy consistency.
- Add the warm coconut mixture into the whipped yolks a little at a time, until it is complete combined with the egg yolks. (adding too much of the warm mixture at once may leave you with scrambled eggs).
- Cover the mixture and refrigerate until completely chilled. A minimum of 8 hours seemed to work for me. Following the manufacturer's instructions for your ice cream maker, freeze the mixture.
- To make the cookies:
- Weigh all ingredients.
- Preheat oven to 350ºF. Line cookie sheets with silpat or parchment paper.
- Sift together almond flour, baking soda and salt in a medium-sized bowl.
- In a smaller bowl, whisk together the honey, vanilla paste, eggs and coconut oil.
- Add the egg mixture to the almond flour mixture and blend with a wooden spoon until combined.
- Fold in chocolate chips.
- Use a medium ice-cream scoop to place dough on the lined baking sheets. Bake for 15-17 minutes.
- Remove form oven and allow to cool on sheet for about five minutes. Transfer to cooling rack and allow to cool completely.
- Sandwich a generous scoop of ice cream between two cookies and enjoy! Feel free to omit the ice cream and enjoy these cookies as is!
- Sweet Tips:
- Adding xanthan gum can extend the life of your ice cream for up to two months in the freezer. If not using xanthan gum, your ice cream should remain fresh and tasty for up to a week.
- For a more textured ice cream, toast some shredded coconut and add to the mixture before chilling. You can also garnish the assembled sandwiches by sprinkling the exposed ice cream with toasted coconut.
- Almond flour can be purchased from most grocery and bulk stores, or you can make your own by simply pulsing some raw or blanched almonds in a blender or food processor for a few minutes.
- To help my cookies keep the domed shape I was after, I used an ice cream scoop to shape them and chilled them in the freezer for about 5 minutes before baking.
- On their own, these cookies are wonderful as a snack with your favourite beverage, or as dessert on their own!
Notes
Tools & Equipment Used:
Silpat or Parchment
Cookie Sheet
Ice Cream Scoop
Kitchen Aid Ice Cream Attachment Sweet Tips: Adding xanthan gum can extend the life of your ice cream for up to two months in the freezer. If not using xanthan gum, your ice cream should remain fresh and tasty for up to a week.
For a more textured ice cream, toast some shredded coconut and add to the mixture before chilling. You can also garnish the assembled sandwiches by sprinkling the exposed ice cream with toasted coconut.
Almond flour can be purchased from most grocery and bulk stores, or you can make your own by simply pulsing some raw or blanched almonds in a blender or food processor for a few minutes.
To help my cookies keep the domed shape I was after, I used an ice cream scoop to shape them and chilled them in the freezer for about 5 minutes before baking. (adapted from Paleo Ice Cream - 75 Recipes for Rich and Creamy Homemade Scoops and Treats)