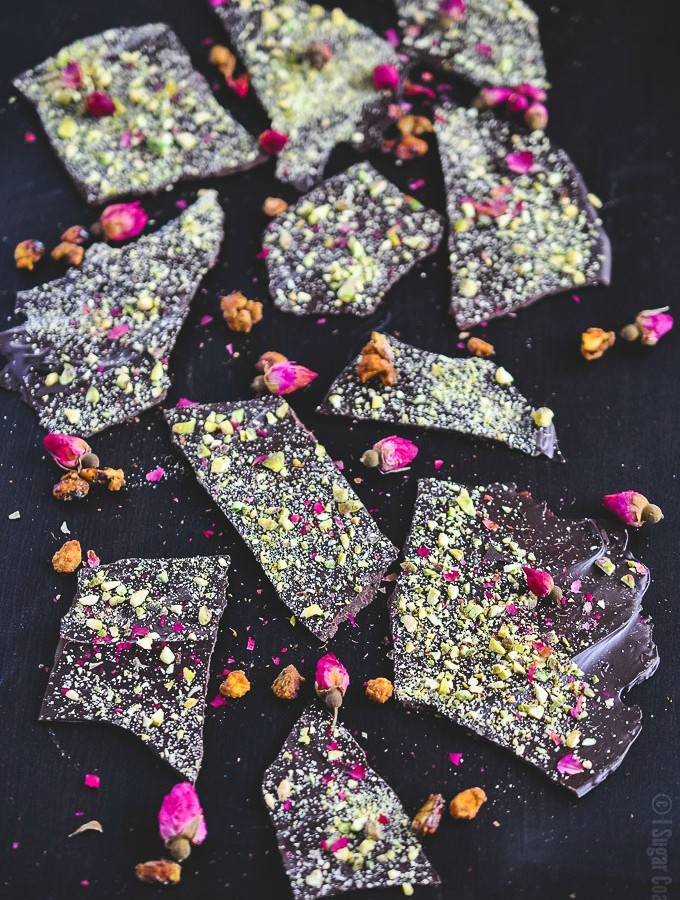
Pistachio Rose Dark Chocolate Bark is a quick and decadent treat of dark couverture chocolate topped with lightly toasted pistachio and rose petals! Want to know how to make your love bark? No, no, no we're not talking doggy communication. Although, I may just have a trick or two up my sleeve to make that happen. We can talk about it if you like. Just sayin'... Today, however, the only barking tips I'm sharing are in this Pistachio Rose Dark Chocolate Bark.
 I adore chocolate bark. Don't you? It is ridiculously simple to make and super versatile. Depending on your preference, you can start with white, milk, dark chocolate, or a combination. You can add flavour with oils, essences, liqueur, and fruit powders. Fruit powders are also great for adding a hint of colour to white chocolate. Let's not forget the toppings, that's where you can get creative and a little, or a LOT, cray-cray. From Fruit and Nut Funfetti, to Free Dried Raspberry and Sprinkles, to Pistachio White Chocolate. The combinations are virtually endless.
This Pistachio Rose Dark Chocolate Bark is by far one of my favourite combinations. Not only is it gorgeous in the looks department, the flavours are intoxicating, especially when a little rose oil is involved. [Tweet "Easy, decadent #Pistachio Rose Dark #Chocolate Bark for #ValentinesDay!"]
 Most importantly, if the bark don't snap, it's basically crap. There is nothing sexy about a soft, streaky, greying bark. Follow these tips for perfectly shiny, snappable chocolate every time:
- Choose good quality chocolate. When it's the star of a recipe, there is just no other way to go.
- Don't just melt it. Heat to 45ºC and cool down to working temperature, by seeding or tabling. Working temperatures are 28-29ºC for white, 29-30ºC for milk and 31-32ºC for dark. Once you learn to do this, you will see the difference in your finished product and there will be no going back.
- Choose toppings and flavours that complement the chocolate. Fruits like raspberry, banana, coconut, cherry and pear work well with both dark and milk chocolate. While blackberry, blueberry, gooseberry and lemongrass work exceptionally well with white chocolate. This is by no means an extensive list, but you get the idea.
- Use dry toppings - freeze-dried fruits and roasted nuts, for instance. This translates to a longer shelf life (although this stuff goes pretty quickly around here).
Chocolate bark's almost limitless customizations make it wonderful for gifting. This Pistachio Rose Dark Chocolate Bark version is always a hit and would be a great gift. Or, you can easily create a signature combination tailored for that special someone(s)!


Pistachio Rose Dark Chocolate Bark
Ingredients
- 200 grams dark couverture
- 100 grams pistachio lightly toasted and coarsely chopped
- 3-5 culinary rose buds crumbled
- drop of rose essential oil optional
Instructions
- Line a shallow baking tray with a sheet of parchment paper or silpat.
- Pre-crystallize chocolate by placing in a large stainless steel bowl, fit securely over a pot of simmering water. Water should not touch the bottom of the bowl.
- I used the seed method - melt 80% of chocolate to 45ºC, remove from heat and add the remaining 20%, as needed, stirring continually until working temperature of 31-32ºC is achieved. If adding the oil, do so now.
- Pour chocolate onto a parchment paper or silpat lined tray and spread.
- Sprinkle with chopped pistachio and roses.
- Allow to set and break into pieces.
Notes
![]()
 Happy first day of February, a.k.a. the love month! And let's face it, where there is love, there is chocolate and if you are super lucky loads of peanut butter too.
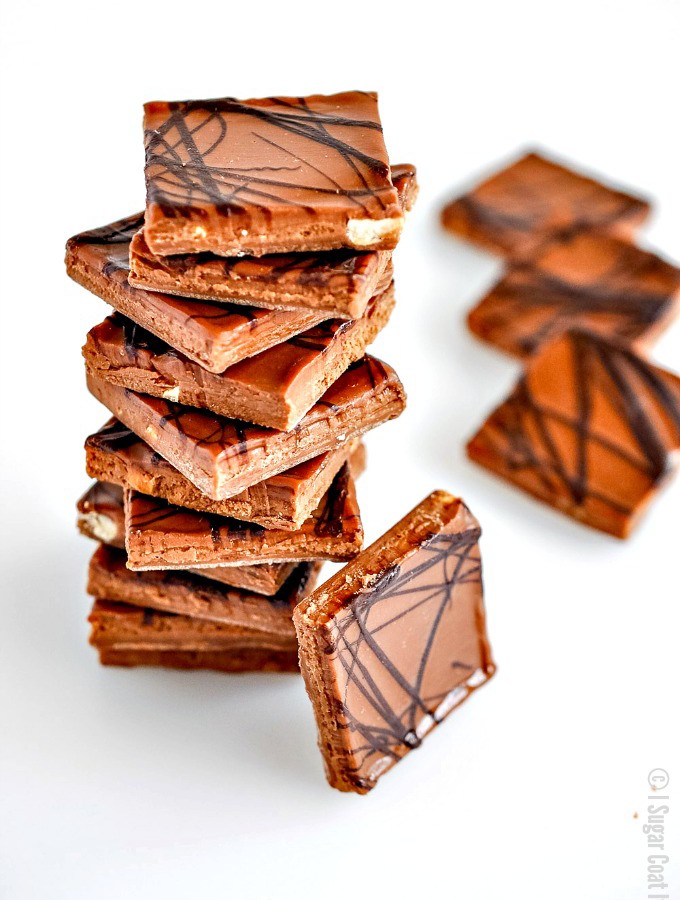
 Prison yard antics aside, these 2-Ingredient Chocolate Peanut Butter Bars are BAD ASS! I'm a dark chocolate snob and I make no apology, but these taste great with either. I'll be sharing the dark chocolate version soon. Stay tuned... [Tweet "These #Valentines Day 2-Ingredient Chocolate Peanut Butter Bars are a #peanutbutter lover's dream!"]
 These Chocolate Peanut Butter Bars are just two ingredients (three if you choose to add the feuilletine), so for best results it's essential that you use good quality ingredients. For the milk chocolate, I love Valrhona's Bahibe (46%) or Jivara (40%). Although it is my preference, homemade peanut butter didn't work so well, so use your favourite all-natural, chunky peanut butter, or another nut butter of your choosing and go to town. If you only have smooth peanut butter on hand, add some coarsely chopped, roasted peanuts, because this taste so much better with the added crunch. To turn up the crunch a few notches, add the feuilletine, or a cereal like corn flakes, frosted flakes (may be too sweet) or rice crispies. The bars are 1.5" square, so your palate won't be overwhelmed with peanut butter (if that's even possible).

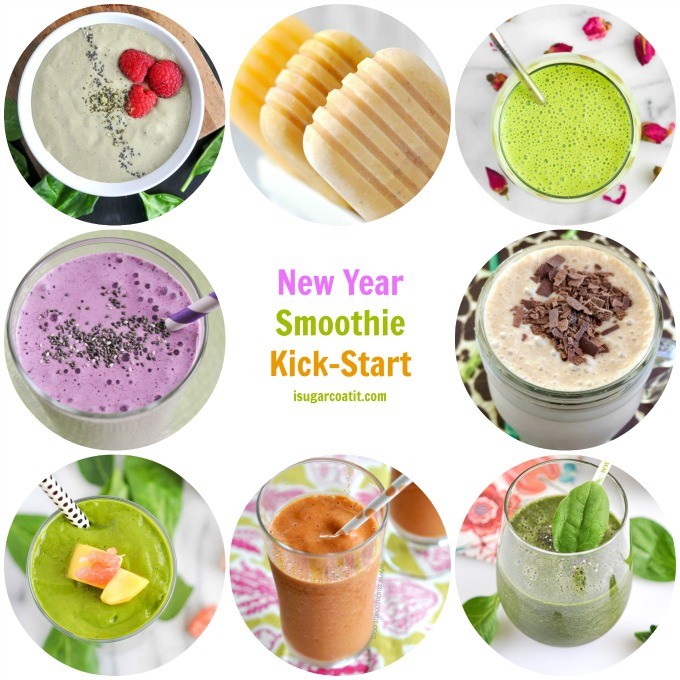
 One more reason why so-called new year diet-related resolutions don't work - Valentine's Day. There you are guzzling smoothies three times a day, miserable as hell and a week into the new year all around you are signs of the BIG V. You know... sweets, sweets and more SWEETS packaged in shiny red boxes and displayed to entice the sentimental among us! And there goes your diet. OK, diets in general don't work in my opinion - I believe in everything in moderation and staying active, but what do I know...
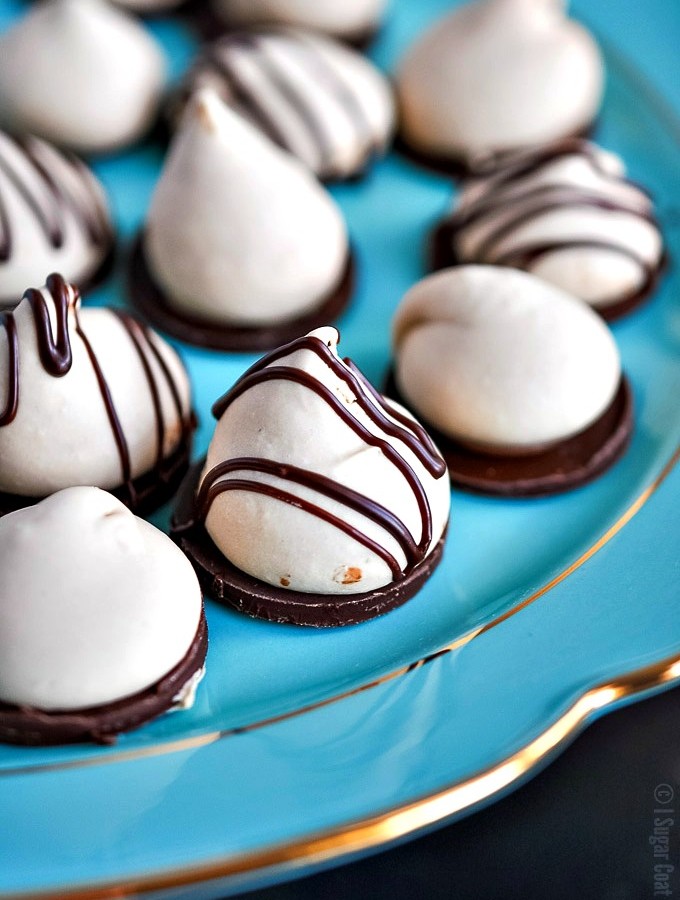
 They aren't always the most perfectly piped kisses, but they sure know how to make tastebuds tingle in all the right places. I tend to pipe most of the marshmallows I make - not sure why - perhaps my therapist could help me work through that. Also, not sure why I haven't shared them here before... I'll get around to that, but until then you can find marshmallow kisses in vanilla, raspberry, passion fruit and chocolate on my Instagram feed. Today, however, you will find my kisses to be a little more bubbly.

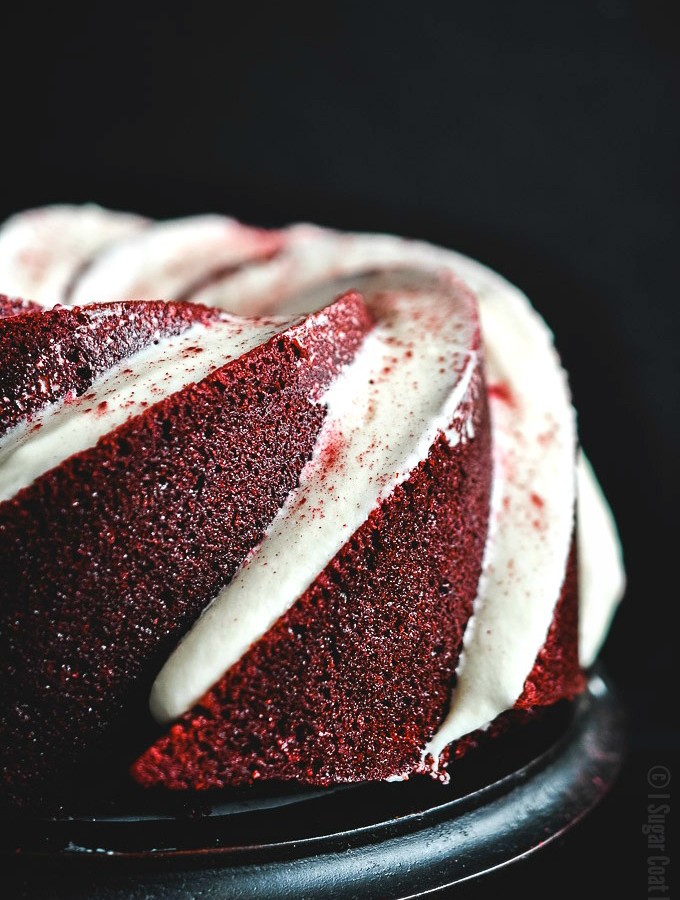
 Beets and Beer Red Velvet Bundt Cake! WHAT?
 A cold, tall glass of beer is great on its own. Add it to baked goods and it acts as a mild leavening agent that produces tender, perfectly crumbed cake like my
  This Beets and Beer Red Velvet Bundt Cake went over way better than expected. I love the reactions I received when I revealed the ingredients. One colleague said that it was basically like eating a delicious salad with a creamy dressing. HA!


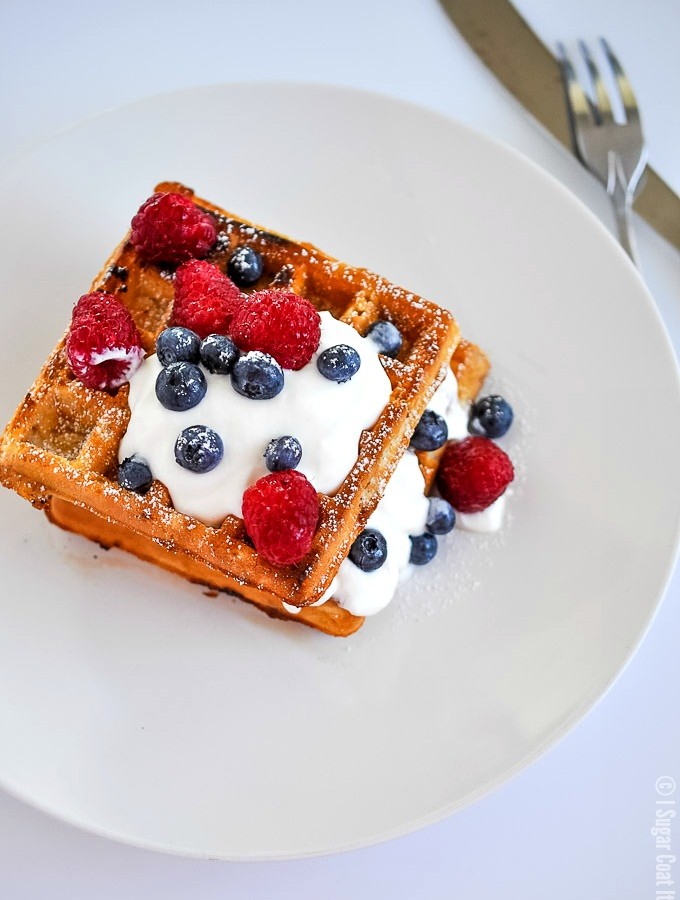
 Ahhh, Sunday... how I love to hate thee. You lull me into a false sense of leisure with your sleep 'till noon easy-going smile and in a wink, disappear my weekend before catapulting me into the harsh reality that is Monday. Is it just me, or does time pick up its pace just a little on Sundays?
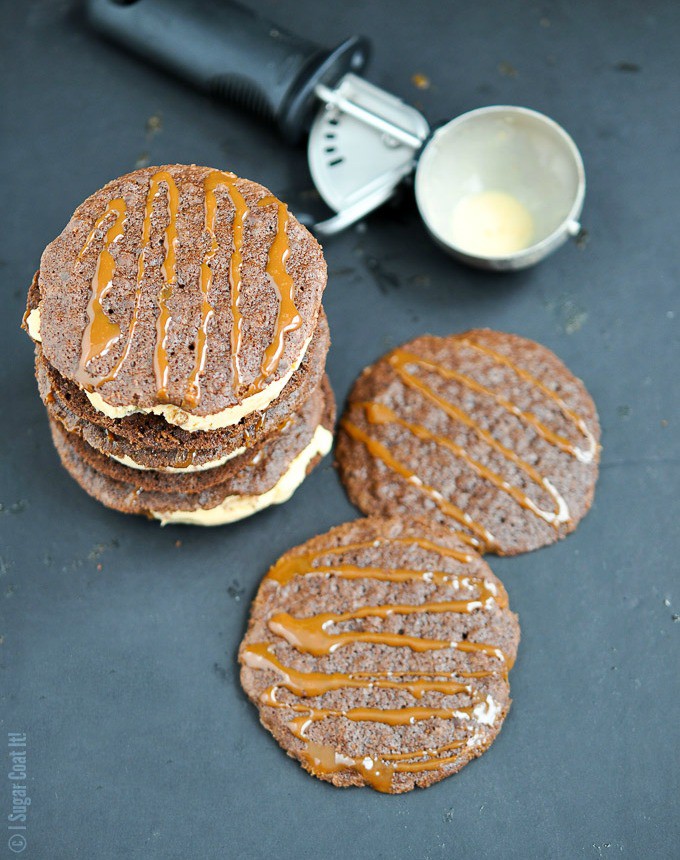


 That crisp, wafer finish makes the perfect bread for my dessert sandwiches. The ice cream is similar to soft serve and smushes perfectly between without breaking the crisps or making then soggy too soon. Plus, I combined some brownie crisps with the caramel to create little clusters that were added to the ice cream.
 Drooling, yet? What's that, huh? You really shouldn't talk with a full mouth, but yeah, you are welcome!

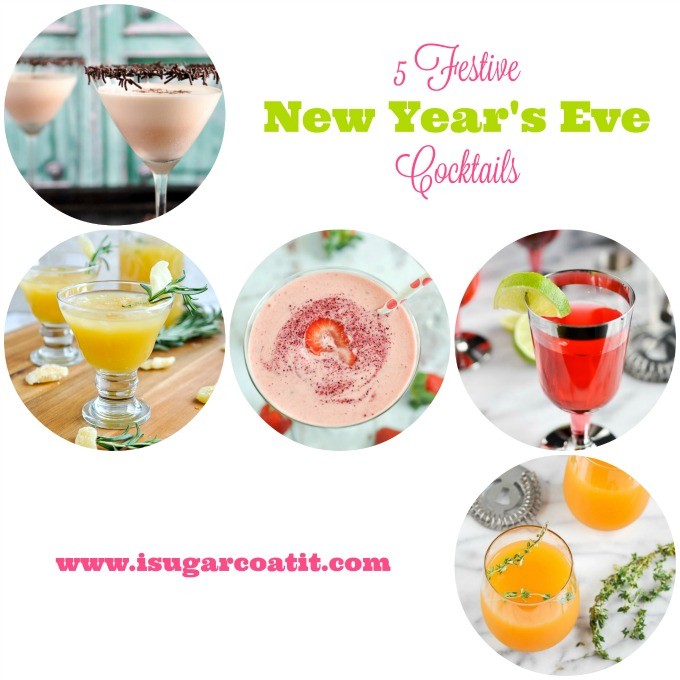
 Happy New Year!! I hope you all enjoyed the holiday season and all its delicious turkey, trimmings and desserts. I opted for mai tais instead of mashed potatoes and pina coladas in place of pumpkin and pecan pies.


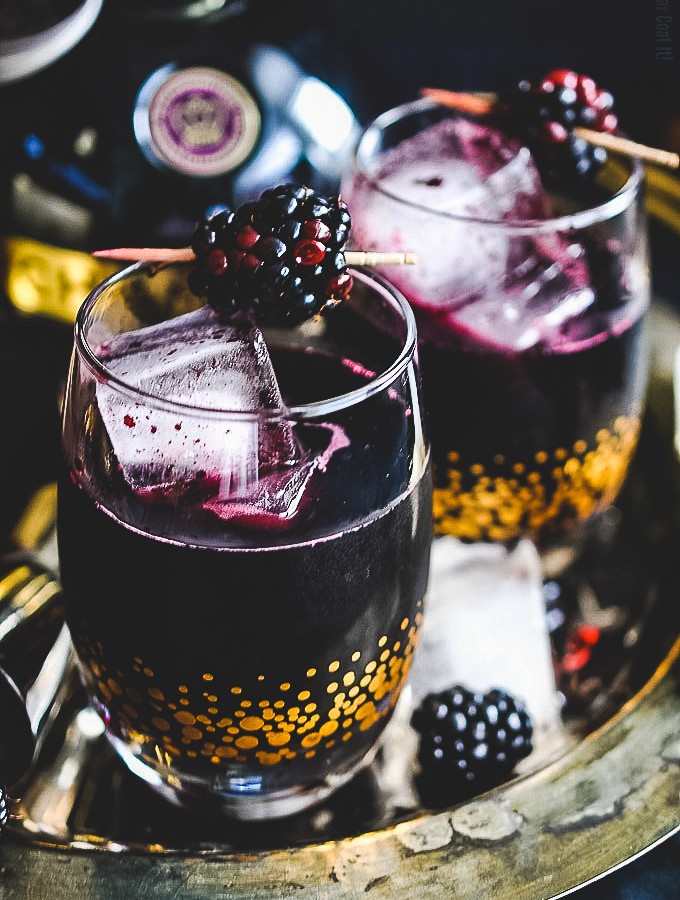
 We are in the homestretch, ya'll! You can bet that, after the year I have had, I'll be the first in line to scream sayonara to 2015. After which I'll happily raise my Blackberry Coulis Cocktail filled glass to usher in a 2016 and all that awaits me.
 Self-doubt aside, time has been my fiercest foe and the source of a great deal of my anxiety. I know I am not the only one holding down a full-time career and blogging on the side - which can sometimes feel like a full-time job in itself. I've let a number of things slide, things that I thought I would attend to while I've been on medical leave, but never found the energy to tackle.
 This Blackberry Coulis Cocktail is my take on a Havana Bramble recipe I saw in a past copy of the LCBO's Food & Drink magazine. I went the route of the coulis to achieve that dark, crimson colour that adds a sexy masculinity to the drink. I love using coulis to top my yogurt, or do a little fancy plating, so I tend to make and keep a variety on hand. It's so easy and delicious and keeps in the fridge for a few days, but can be frozen for a few months. The Chambord, which is a blackberry liqueur, amps up the blackberry flavour and the spicy tones of the dark rum wraps it up all nice and warm like. You may choose to skip the rum and add champagne, which is actually quite tasty.[Tweet "Make your #NYE slightly sweet, a little tart and a whole lot of sexy with my Blackberry Coulis Cocktail"]

 A robust rye complemented by refreshing, aromatic ginger and rosemary, this
  This island thirst-quencher I call
  What do you get when Mozart and Elephants mingle? A composition of orgasmic proportions I like to call
  This
This 

